Creating a reminder email with QR-code
This guide provides step-by-step instructions on creating and sending a reminder email for an event. It covers how to create the email template, add text and images, include a QR code, and preview the design. It also explains how to schedule the email send out, select the recipients, and specify the timing. Following this guide will ensure that you effectively remind and engage event attendees.
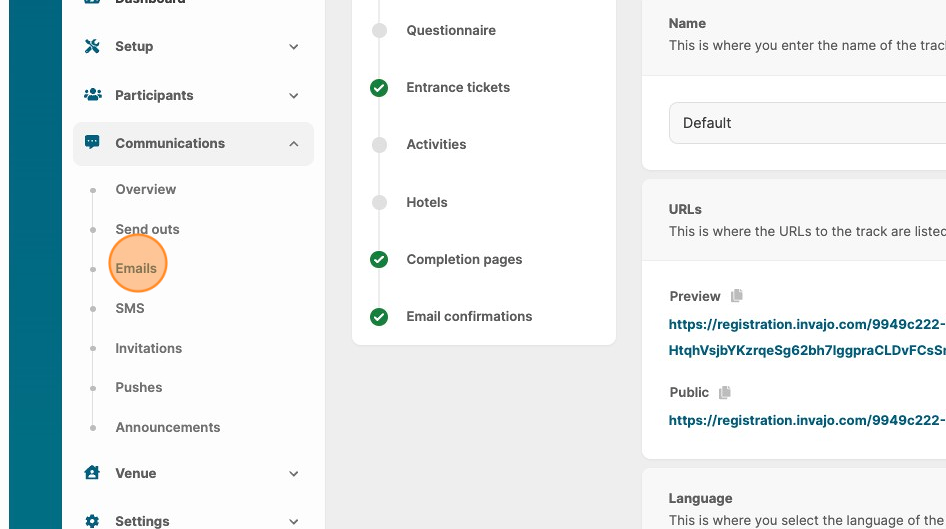
1. Navigate to the menu "Communications.

2. Click "Emails"
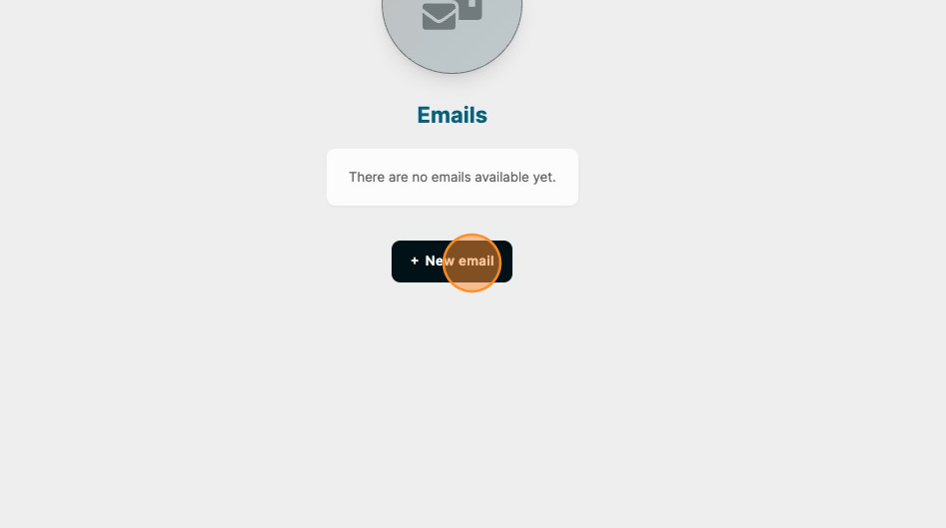
3. Click "+ New email"
4. Give the reminder an internal title + add a subject line for the email.

5. Add your desired text and images, then click on "Tags".
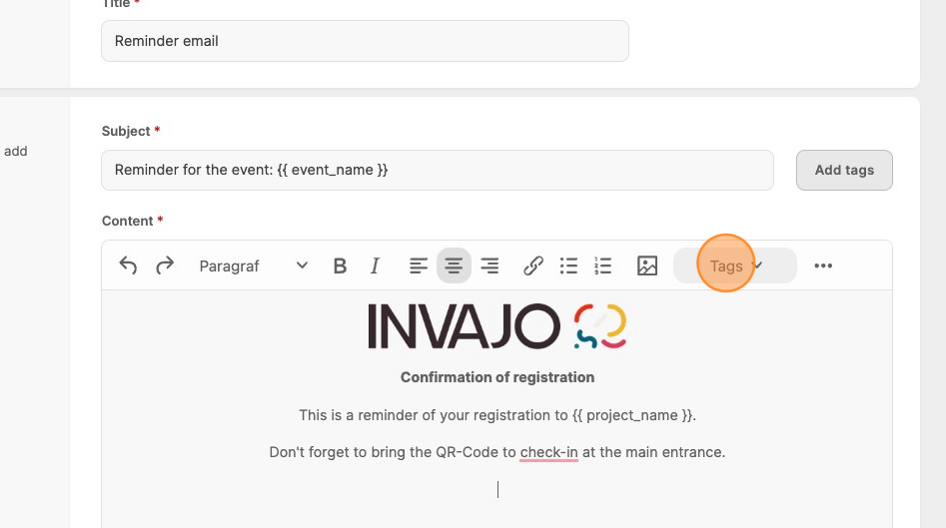
6. Click to add your "QR Code" tag.
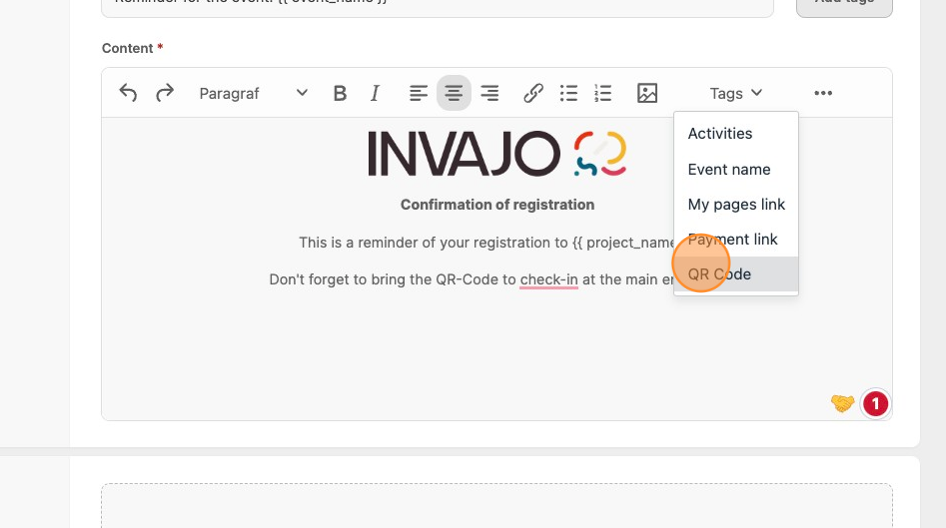
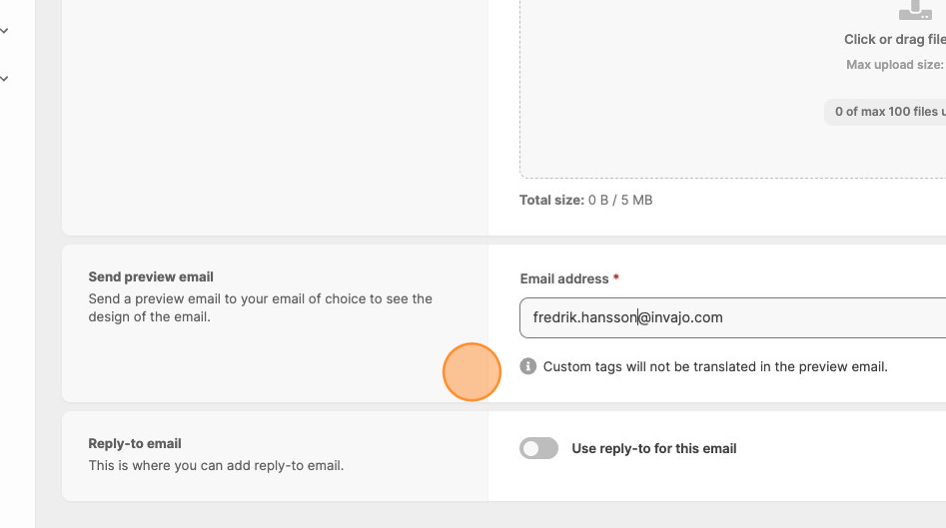
7. If you want, you can send a preview to your email of choice to see the design of the email.
Please note that custom tags, as the QR code, will not be translated in this preview. So you will not see an actual QR-code in the email you receive.
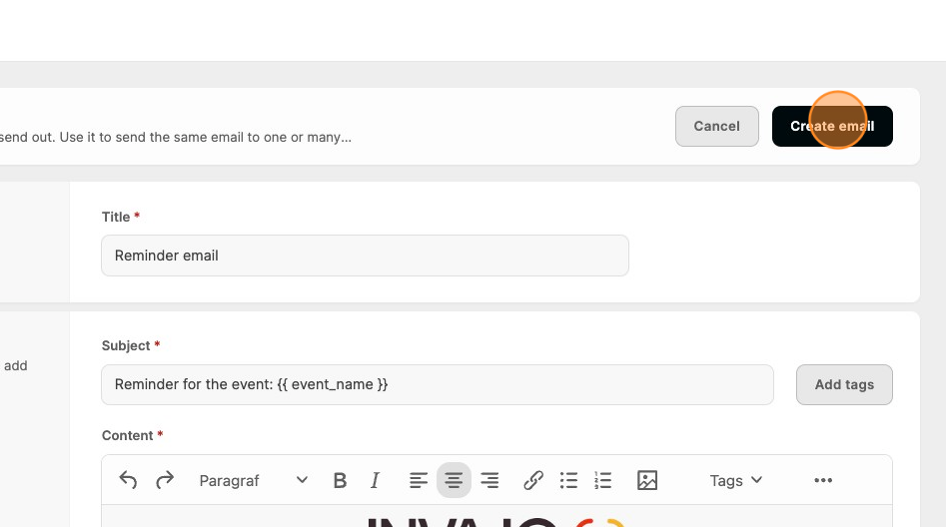
8. Click "Create email" to save.
Schedule who to send the reminder to and when
9. To connect and schedule when to send this email, go to "Send outs"
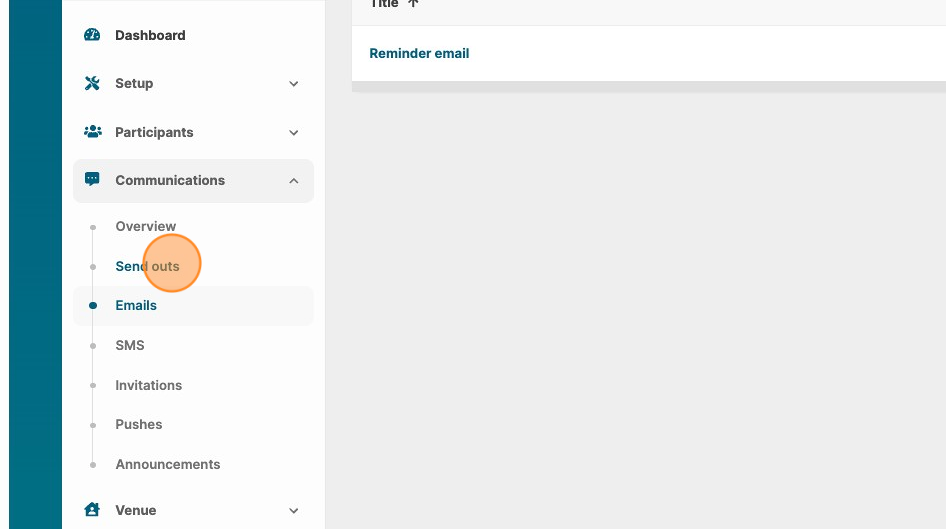
10. Click "+ New send out"

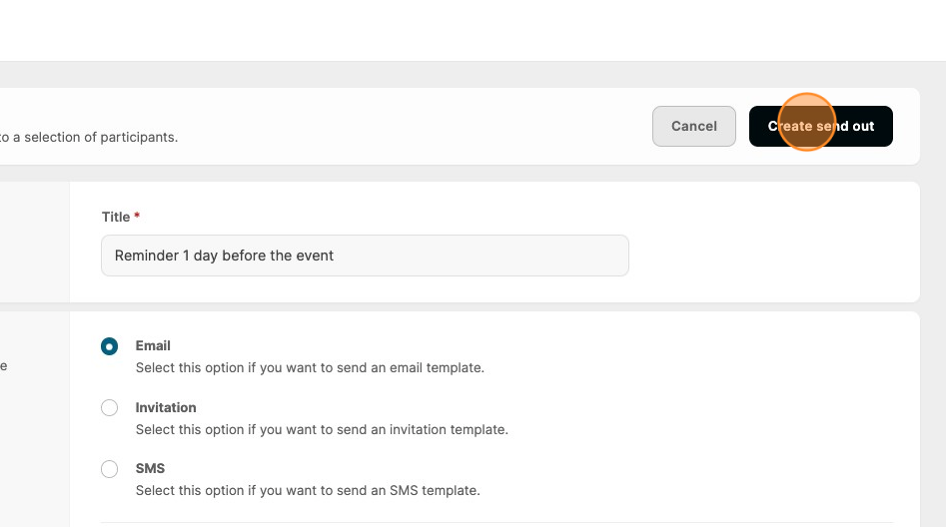
11. Give the sendout a title, e.g. "Reminder 1 day before the event"
12. Click "Email" and then select the template you just created.

13. In this step, we select that we wish to send the reminder to everyone who have registered for the event.

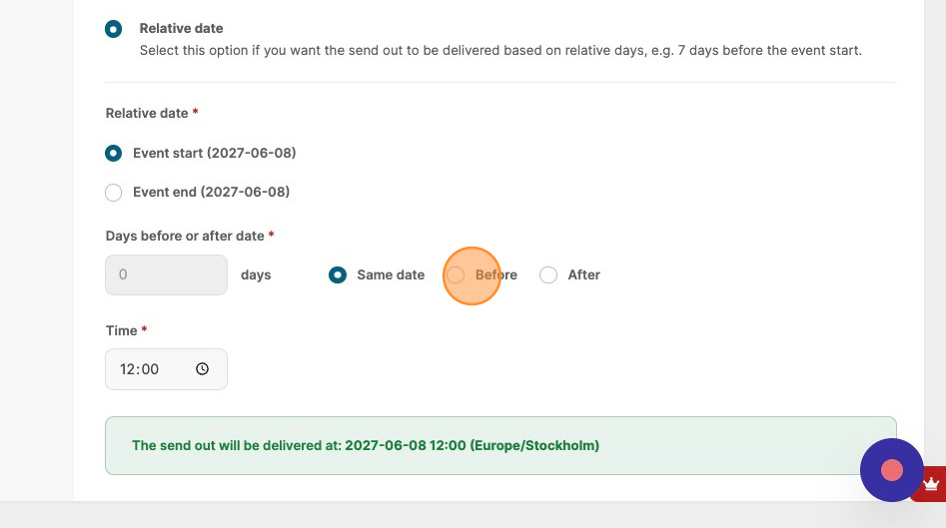
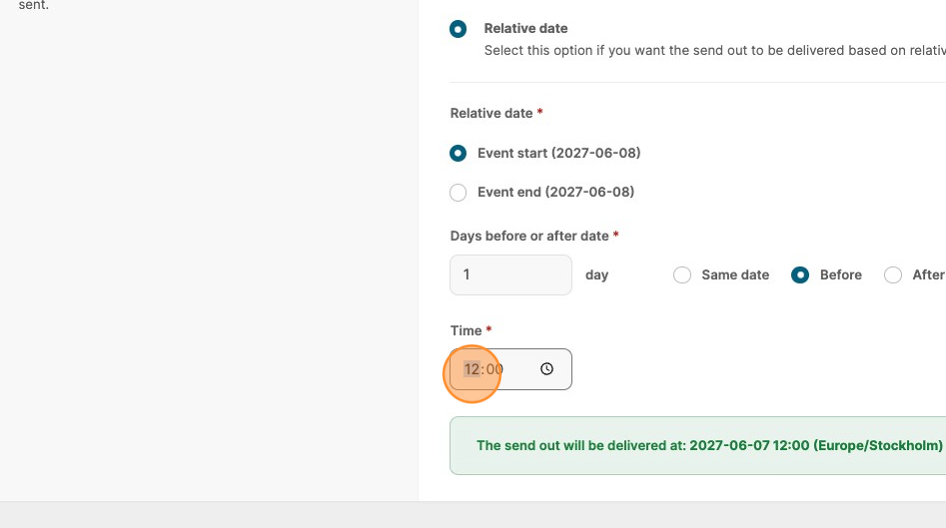
14. In this case, we want to send the reminder 1 day before event start.
15. You can also select which time of the day the email should be sent.
16. Click "Create send out" to Save.
