Send Customized Confirmation Emails to Different Registration Groups
This guide offers a step-by-step guide to sending tailored confirmation emails to different registration groups, enhancing communication and ensuring participants receive relevant information. By following these instructions, event organizers can efficiently manage email confirmations based on participant roles, such as exhibitors, fostering a more personalized experience.
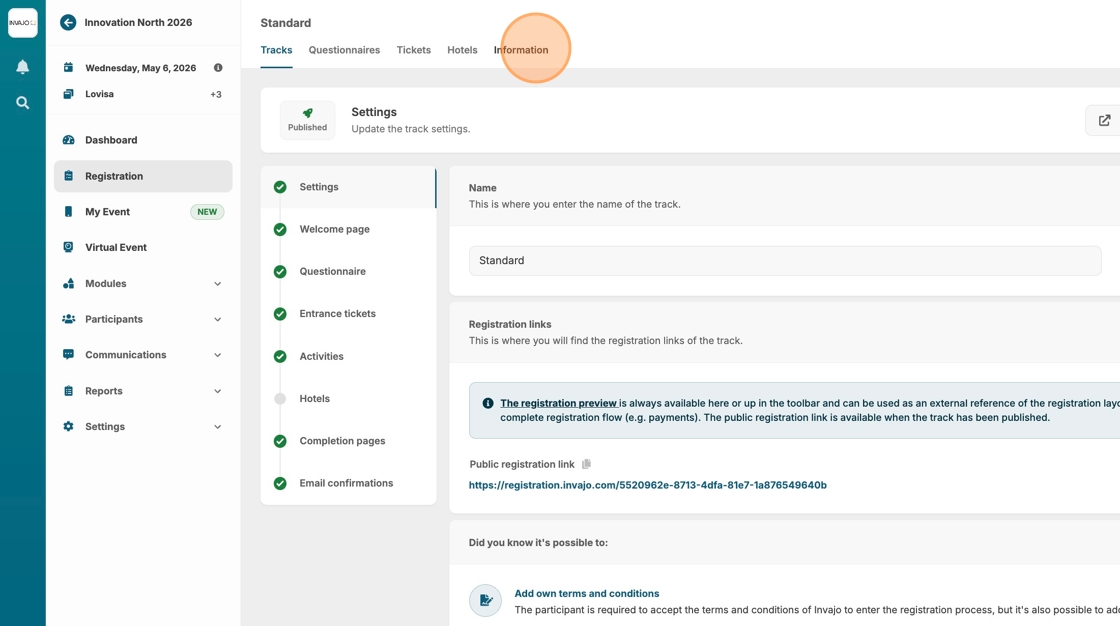
1. Navigate to "Registration"

2. Click "Information"
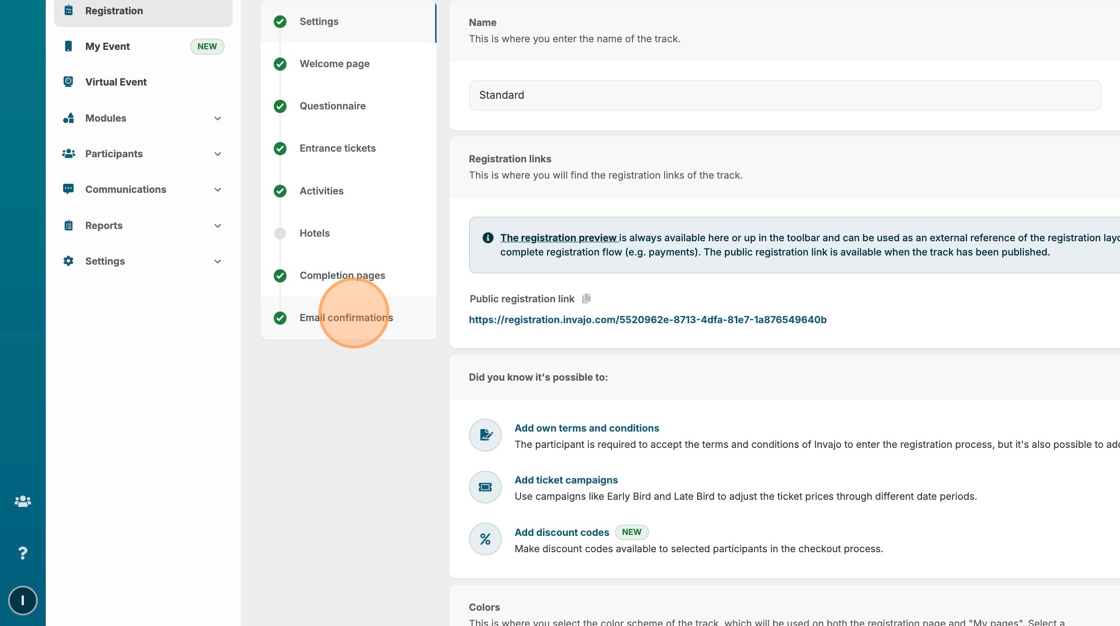
3. Click "Email confirmations"

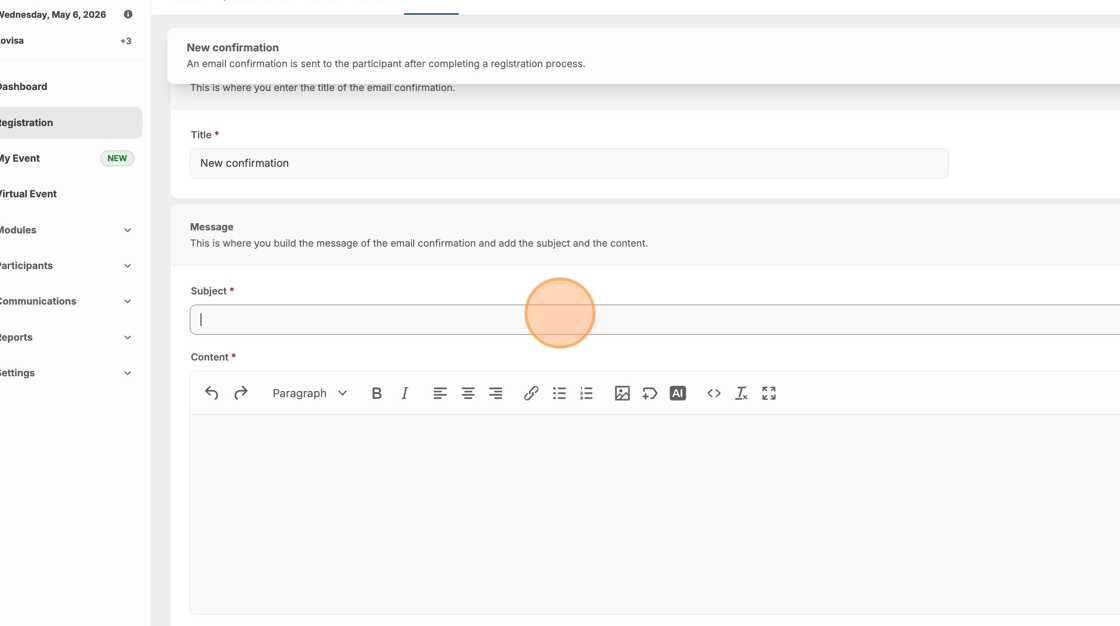
4. Click "New" or copy an existing confirmation email.

5. Create your email.
6. Click "Tracks"

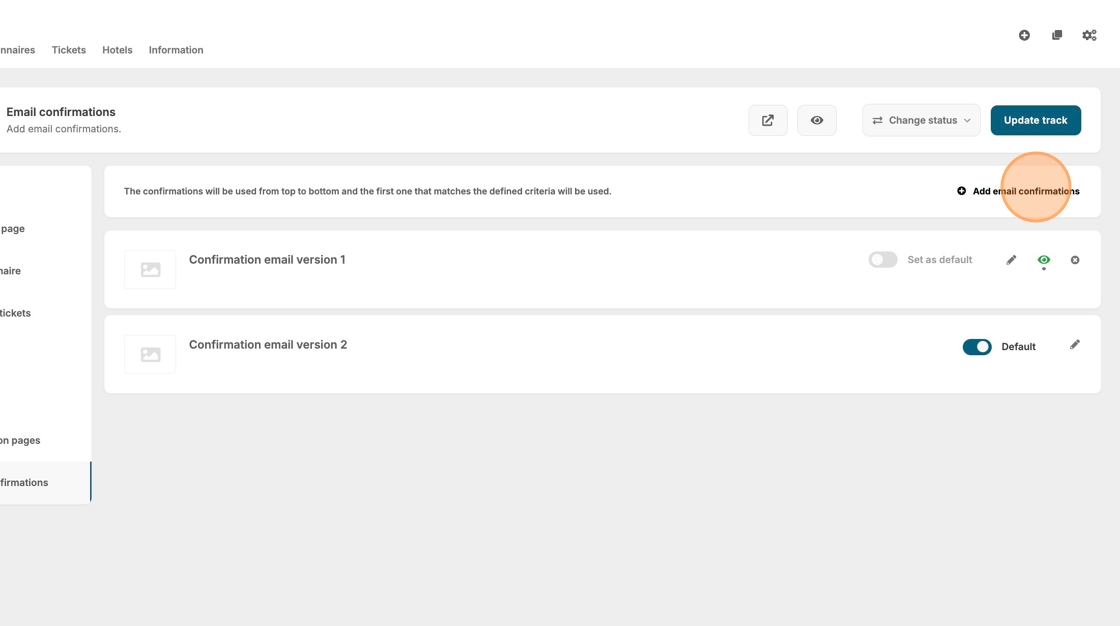
7. Click "Email confirmations"
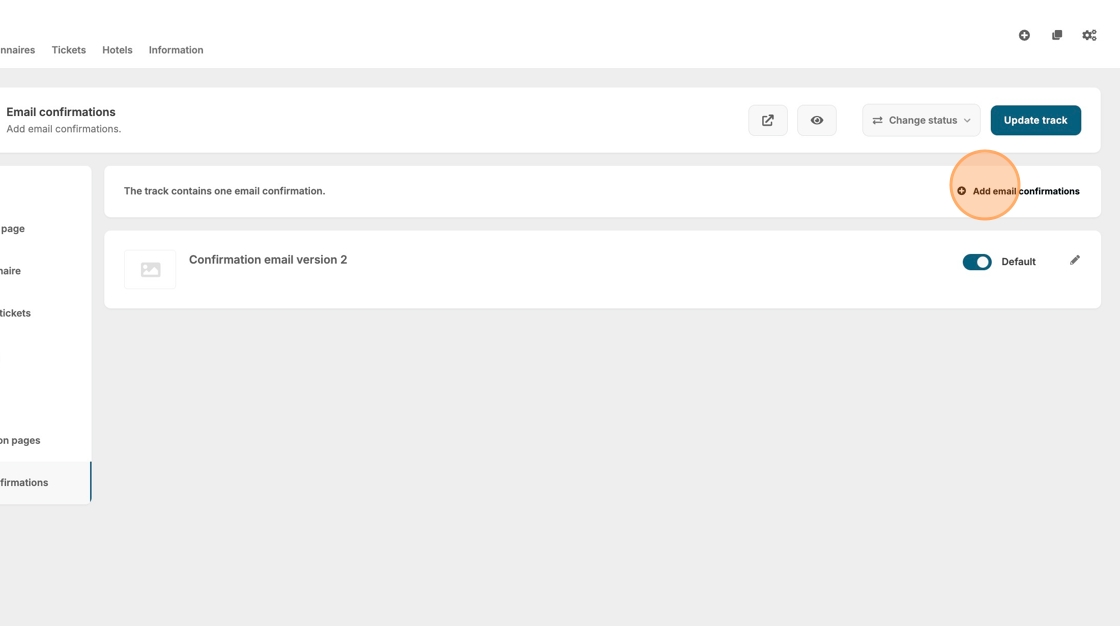
8. Click "Add email confirmations"
9. Choose your alternative email confirmation email/emails.
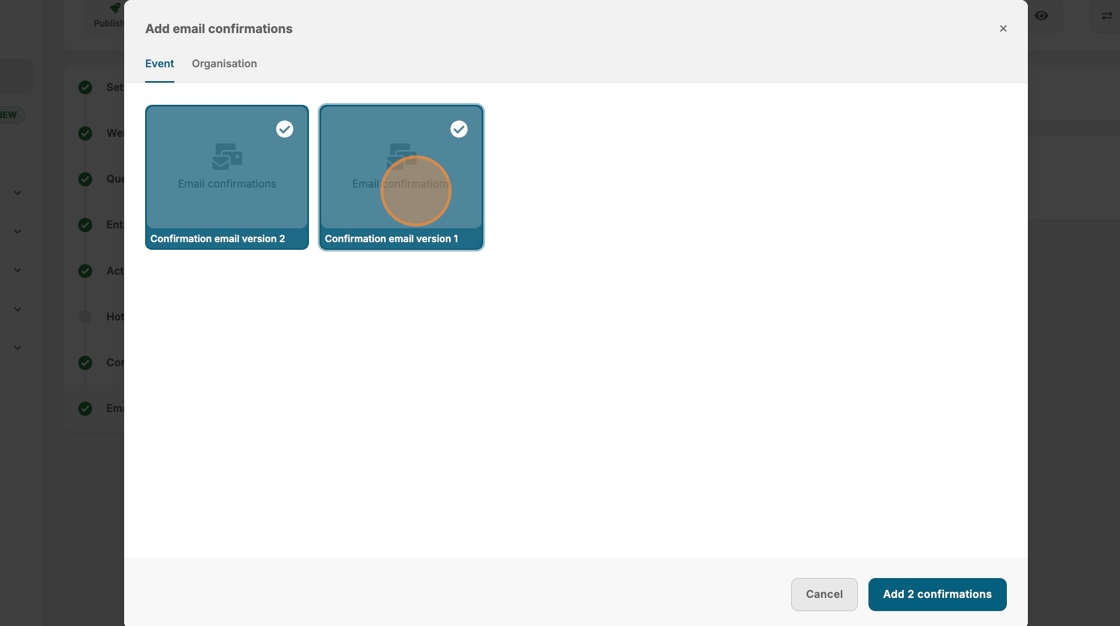
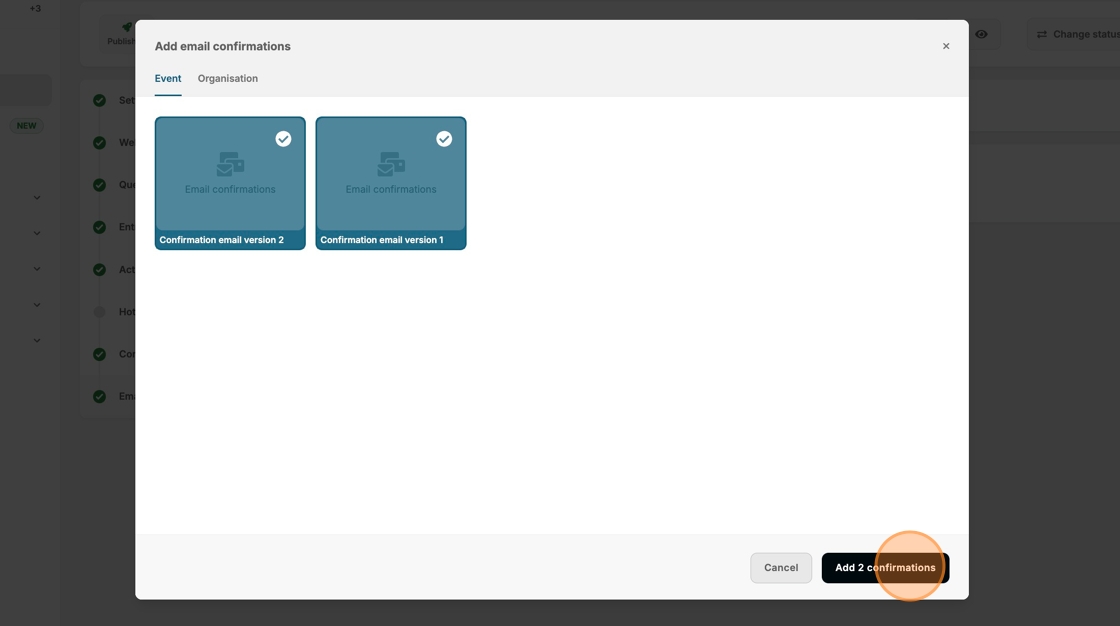
10. Click "Add confirmations"
11. Click this icon.

12. Set your visibility rules to ensure that the right group of participants gets the right email. In this case, we will base it on how they identify their participation.

13. And make a confirmation email to the "Exhibitor" option.
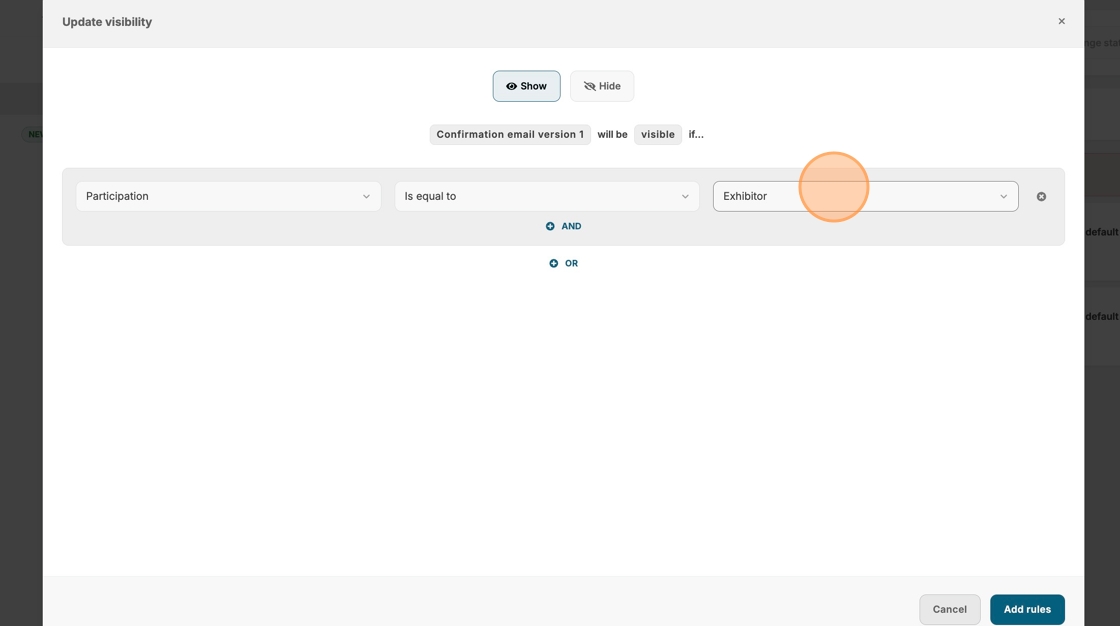
14. Click "Add rules"

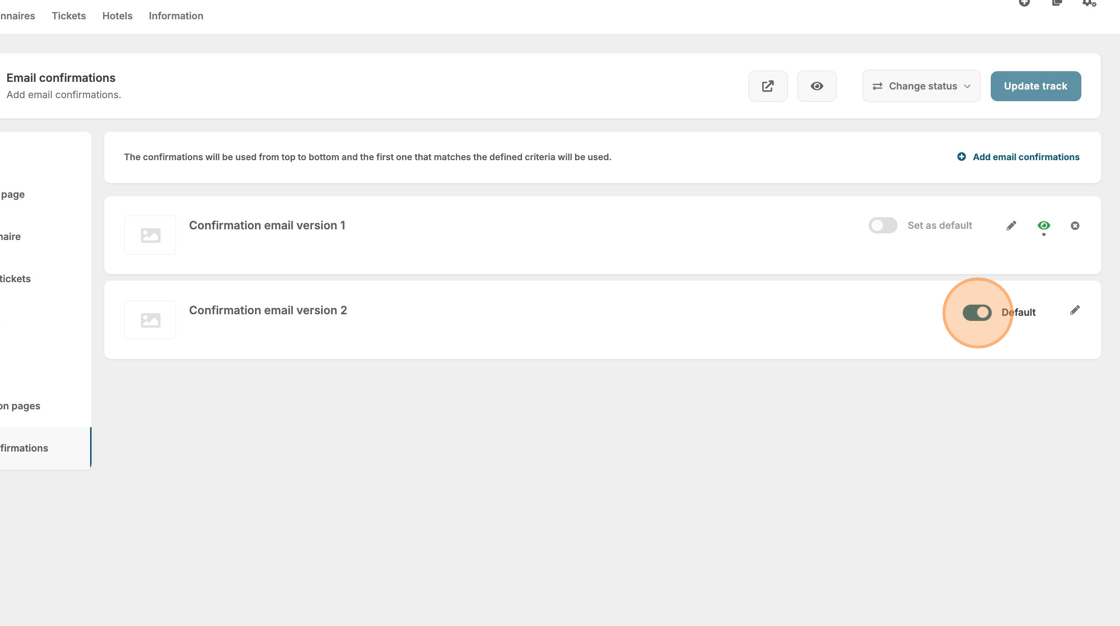
15. Click here to choose one default version.
16. Click "Add email confirmations" if you want even more versions.