Create A List
This guide walks you through the process of creating secure and customizable lists within Invajo Beyond. You can create lists to keep track of selected information and share with relevant recipients.
The guide details various access options - internal use, two-factor authentication, and password protection, ensuring you can choose the level of security that suits your needs. Additionally, it illustrates how to filter and select specific data, allowing for tailored list creation. By following this guide, you can efficiently manage guest information while maintaining strict access controls.
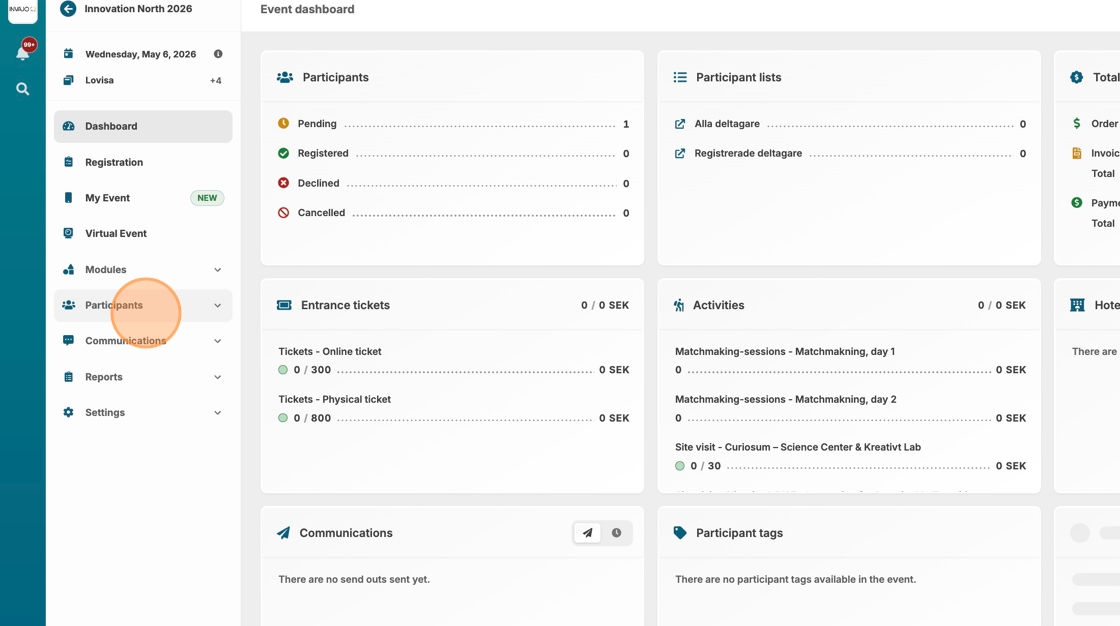
1. Click on "Participants"
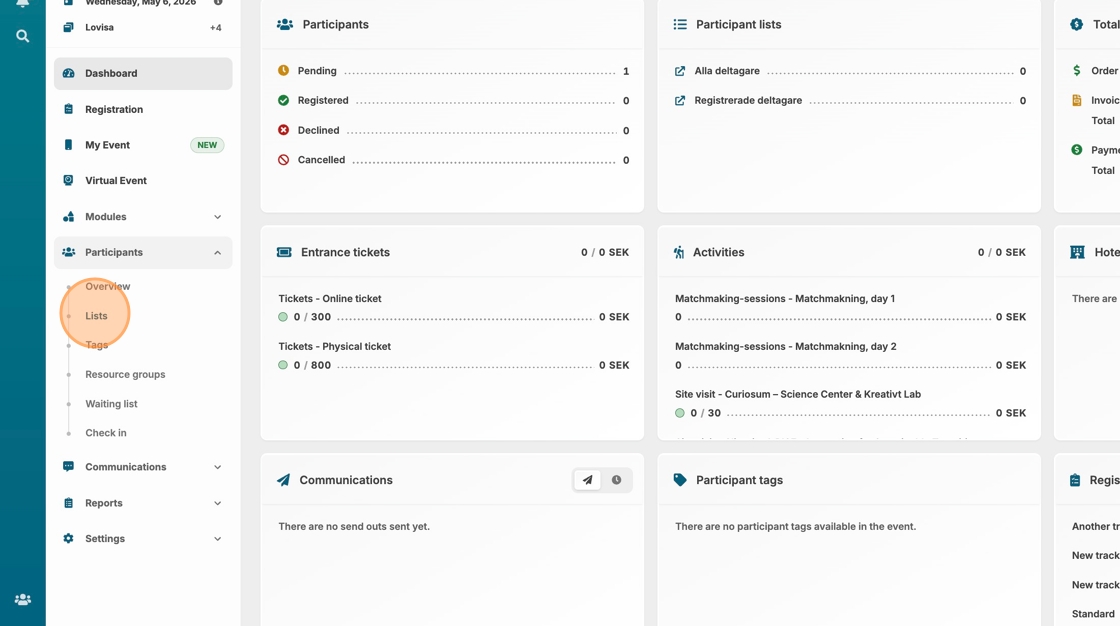
2. Click "Lists"
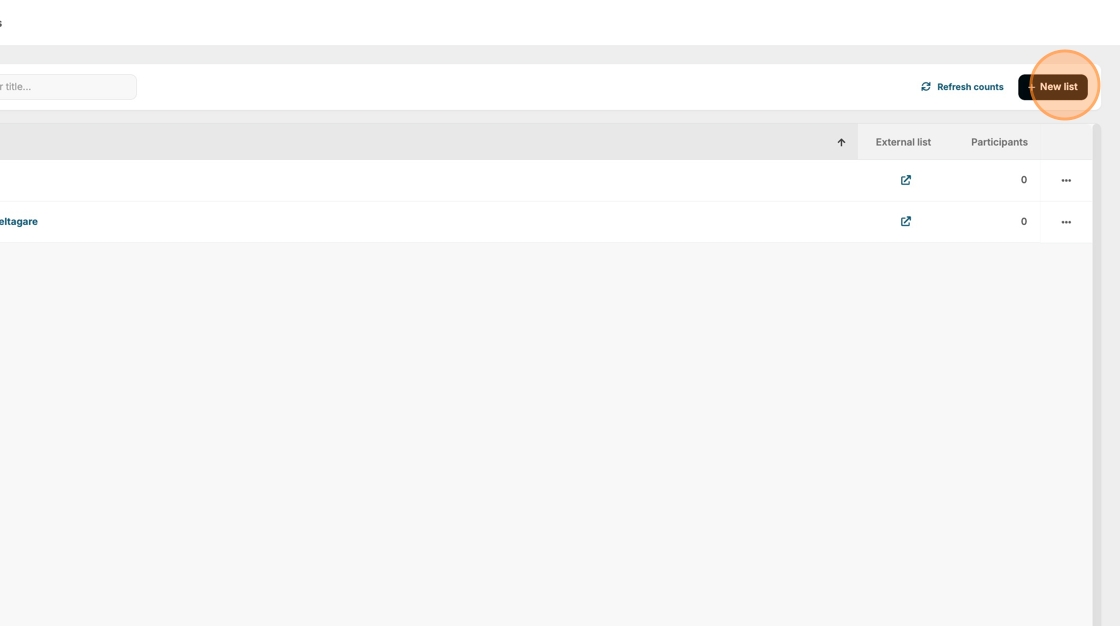
3. Click "New list"
4. Type the name of your list.
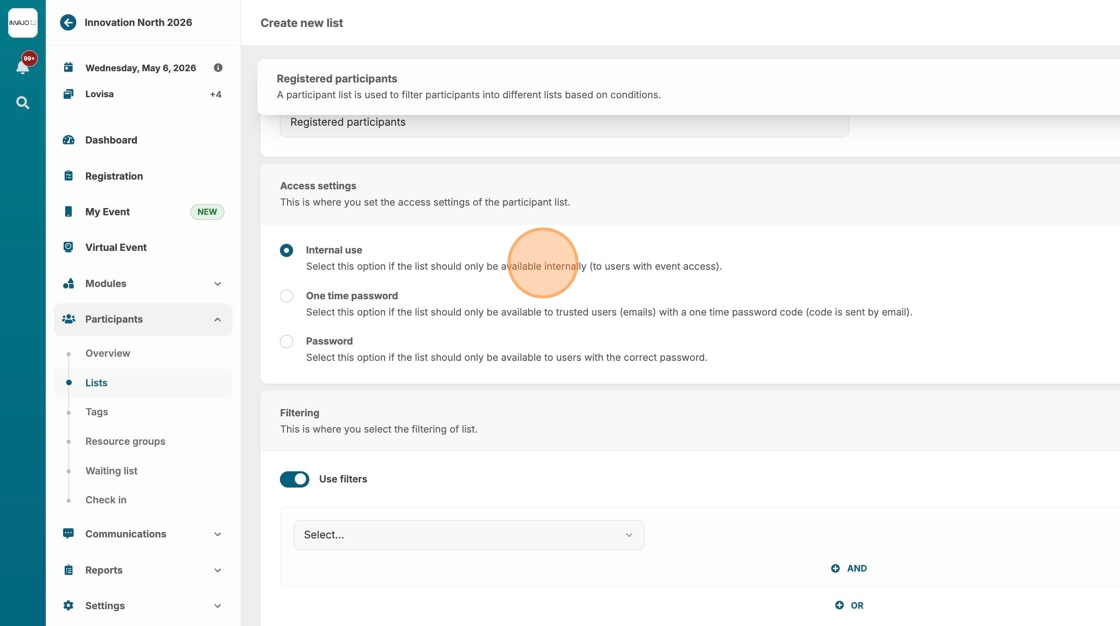
5. Choose the access settings for your list.
The first option is for internal use, meaning only users with event access in Invajo Beyond can view the information.
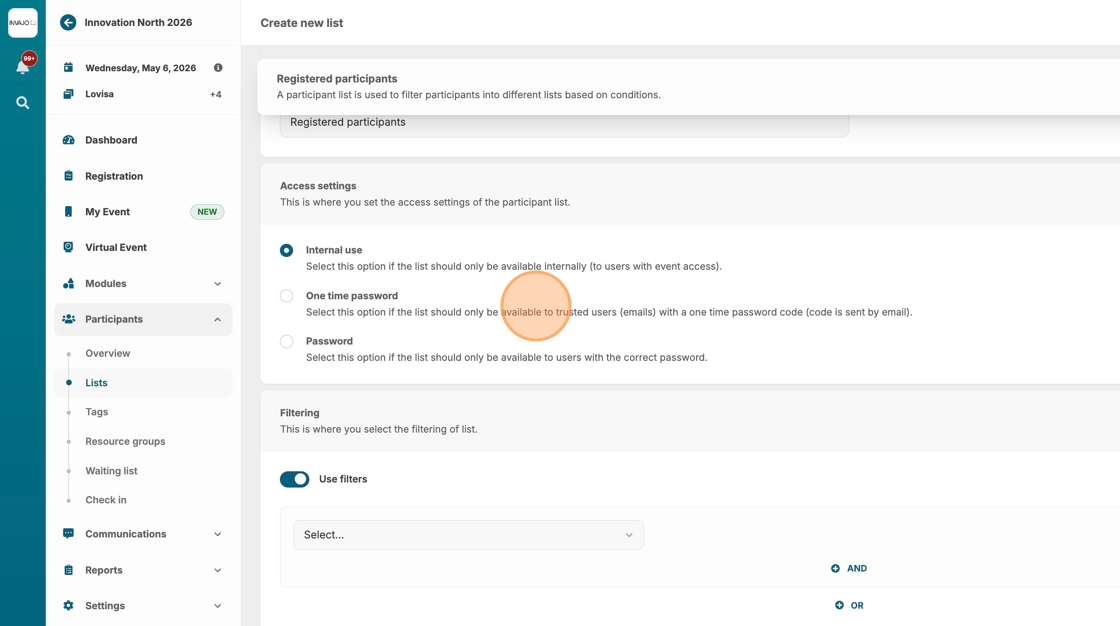
6. The second access option is two-factor authentication (2FA) using a one-time password. By choosing this method, you can invite readers by simply adding their email addressess. Each time the recipient wants to access the content, they click the link and receive a unique, one-time password - ensuring high security and controlled sharing.
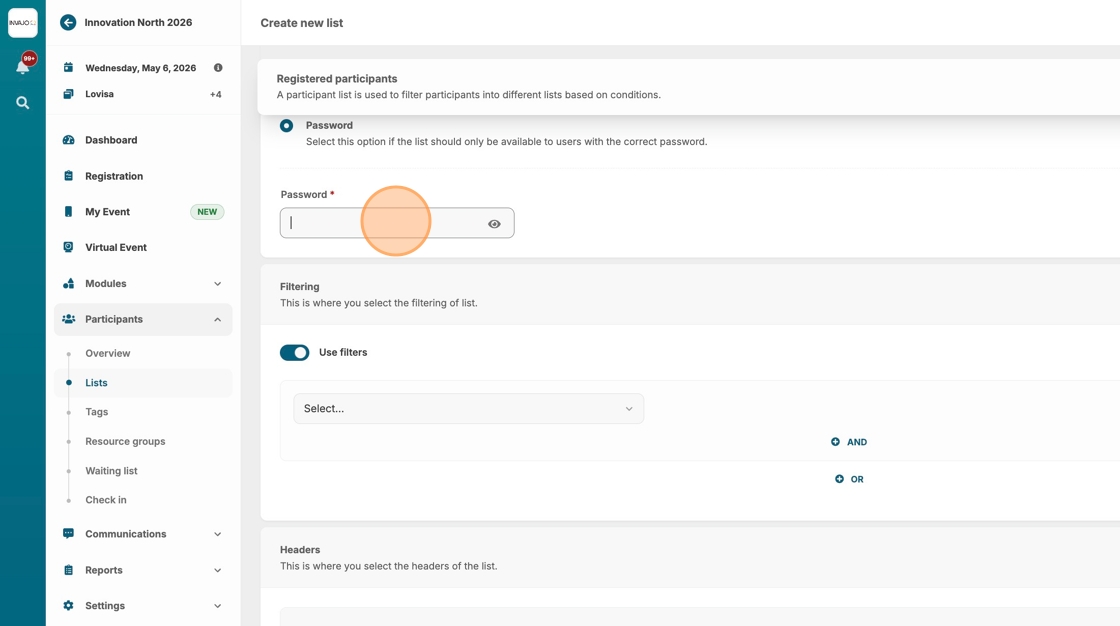
7. The third option is controlled by setting a set password that recipients of the link must enter to gain access.
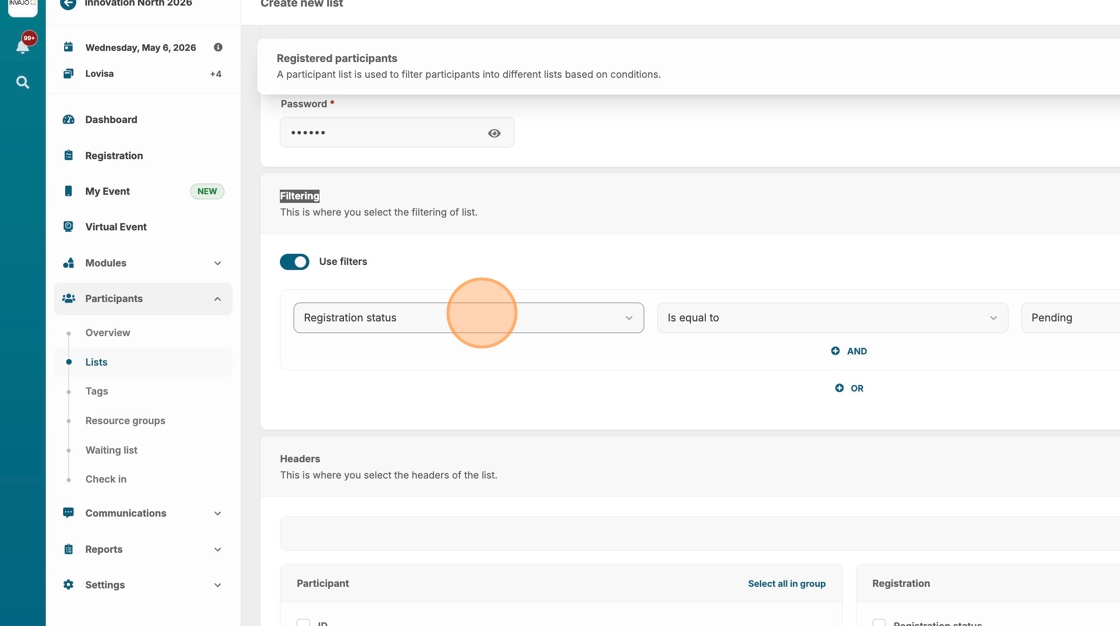
8. To build the content of your list, start by adding a filter to define which information should be included.
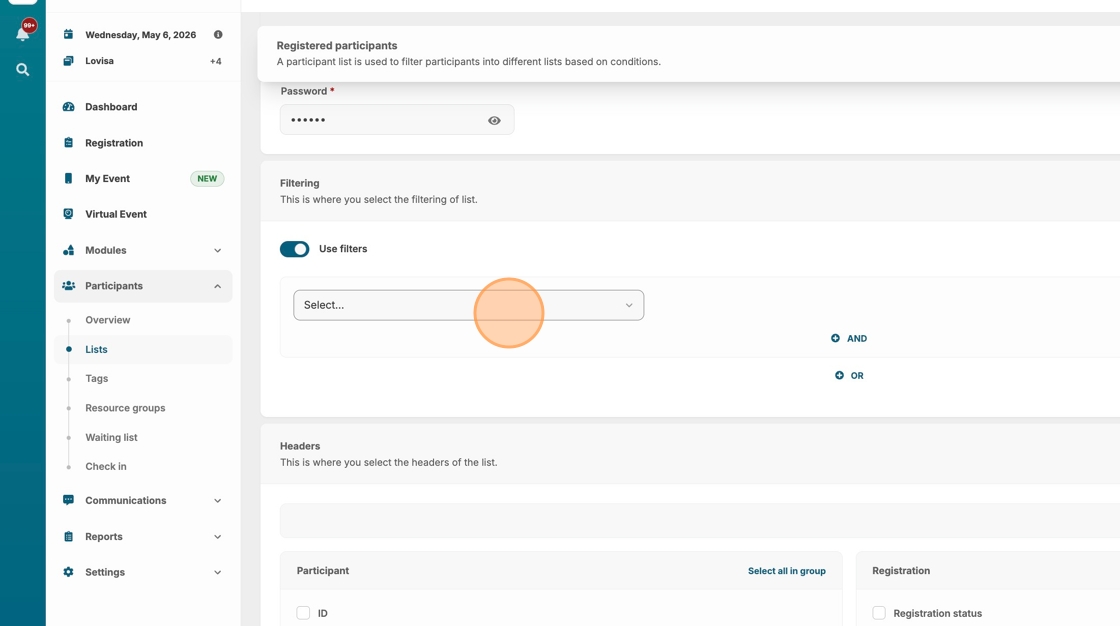
9. In this example, let's create a list of all registered guests.
Select the "Registration status" option.
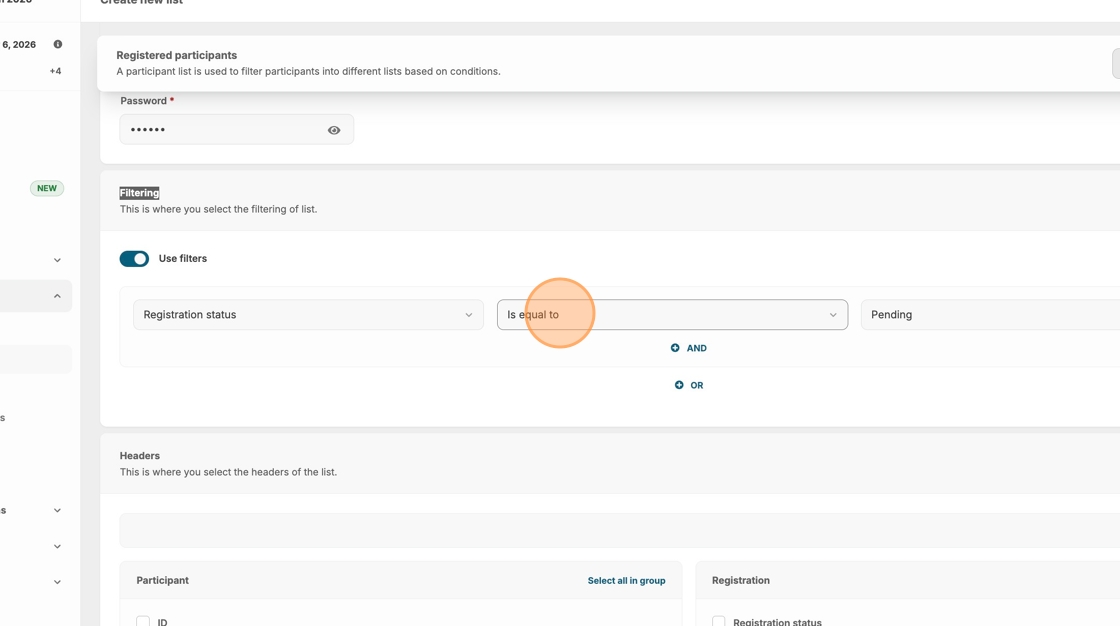
10. Make sure it is set to "Is equal to".
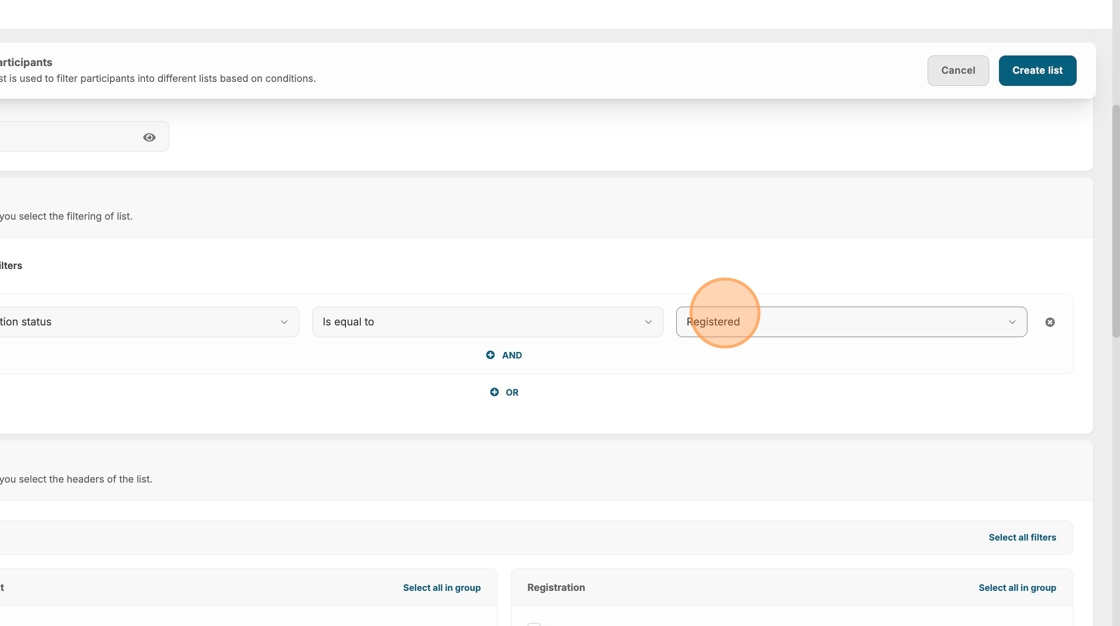
11. Select the "Registered" option.
12. Next, select which columns of information you want to include for the filtered group -- in this case, all registered guests.
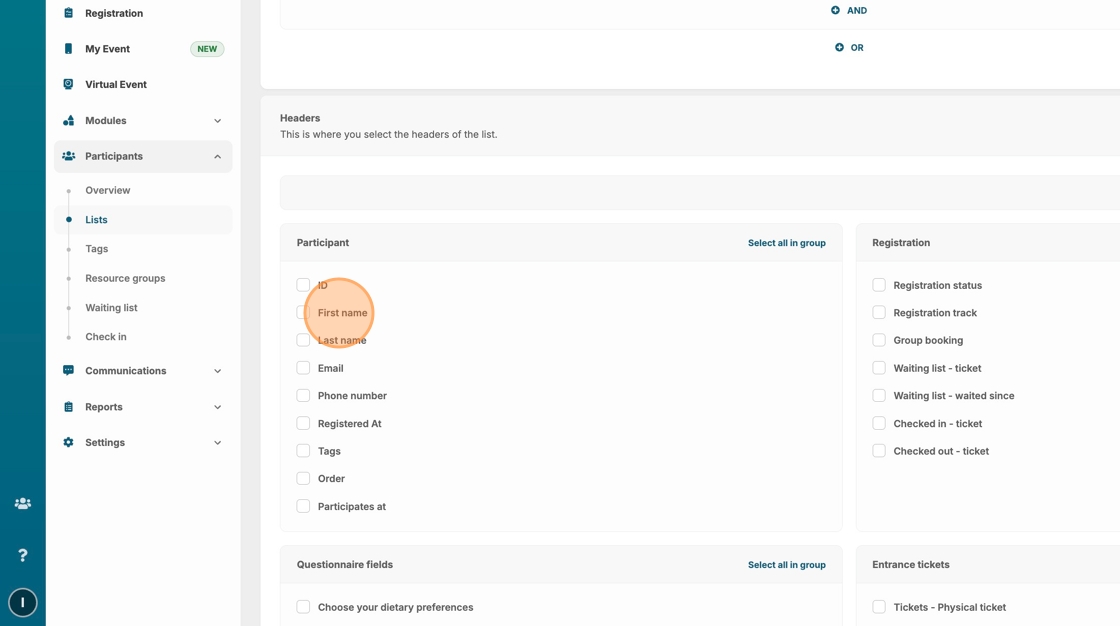
13. To add a column, you simply check the box.

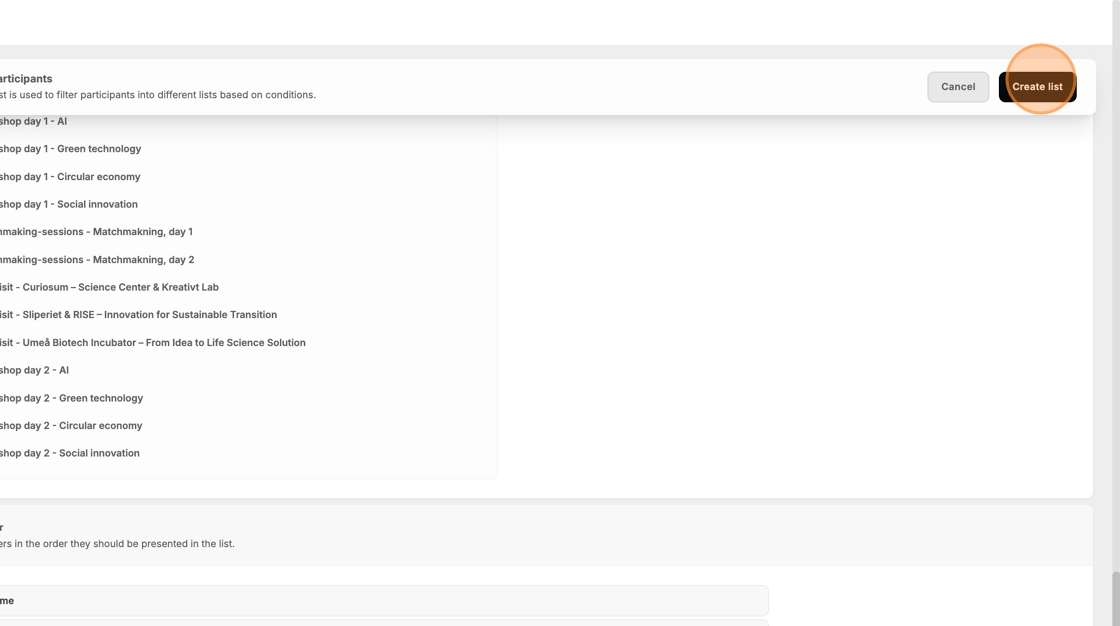
14. When you're done with your set-up, click "Create list"
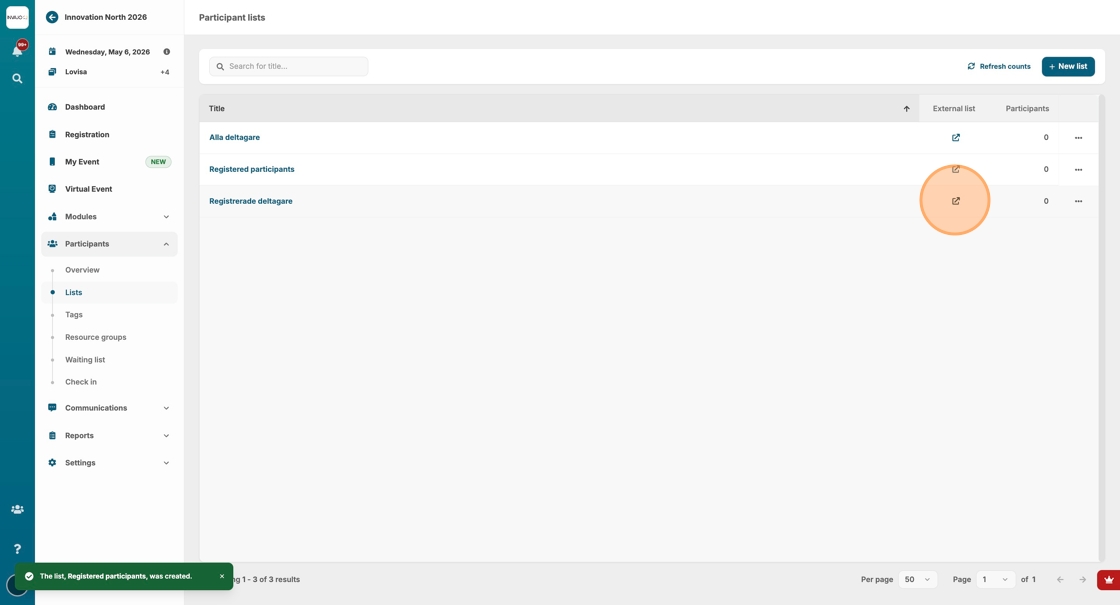
15. If you have chosen to share your list through internal access or a set password, you will find the link here.