Event tags
Below is an overview of the most commonly used event tags, along with some examples of how they appear in emails.
Event details
{{ event_name }}– Inserts the name of the event
Participant information
These tags are specific to the person who registered:
{{ first_name }}– Inserts the participant’s first name{{ last_name }}– Inserts the participant’s last name{{ email }}– Displays the participant’s email address{{ phone }}– Displays the participant’s phone number
Questionnaire, ticket and activity booking
These relate to the participant’s answers, ticket or activity booking:
-
{{ entrance_tickets }}– Displays the entrance ticket selected by the participant without the price. Example:
-
{{ activity_tickets }}– Lists the activities the participant has signed up for, including activity names, dates and times if applicable, without the price. Example: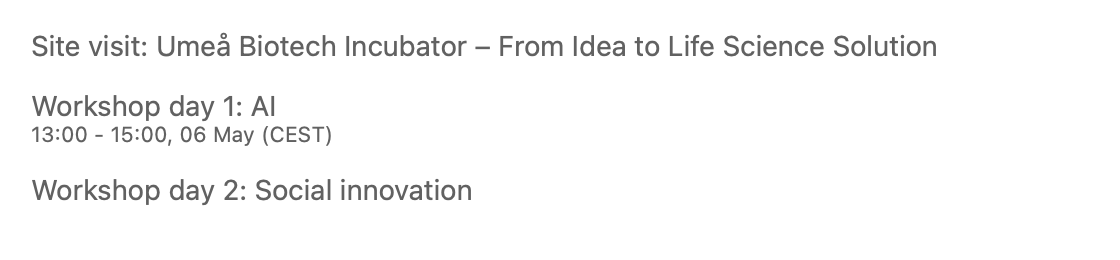
-
{{ questionnaire_summary }}– Shows all fields with questions and answers included in the registration form. Example:
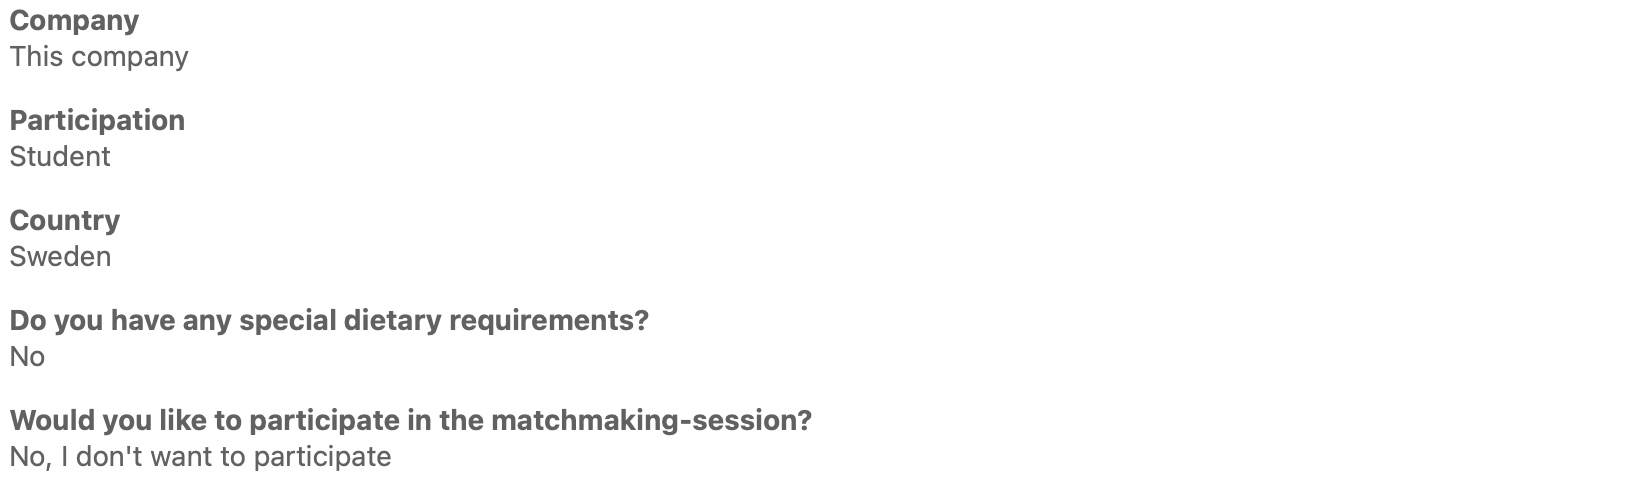


-
{{ order_summary }}- Displays ticket and any selected activities with details and price. Example: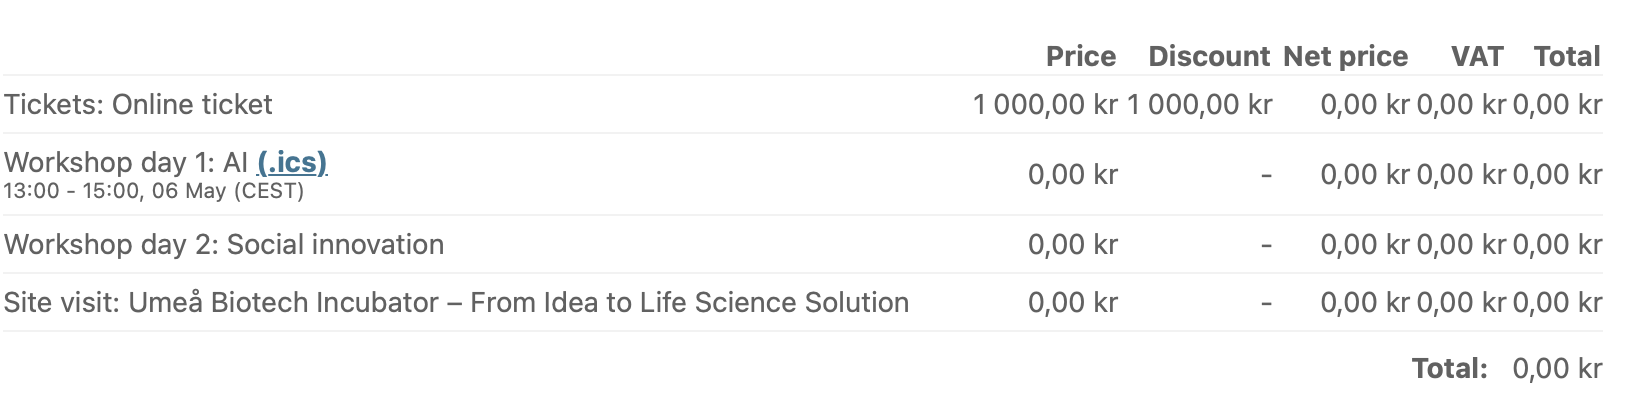
-
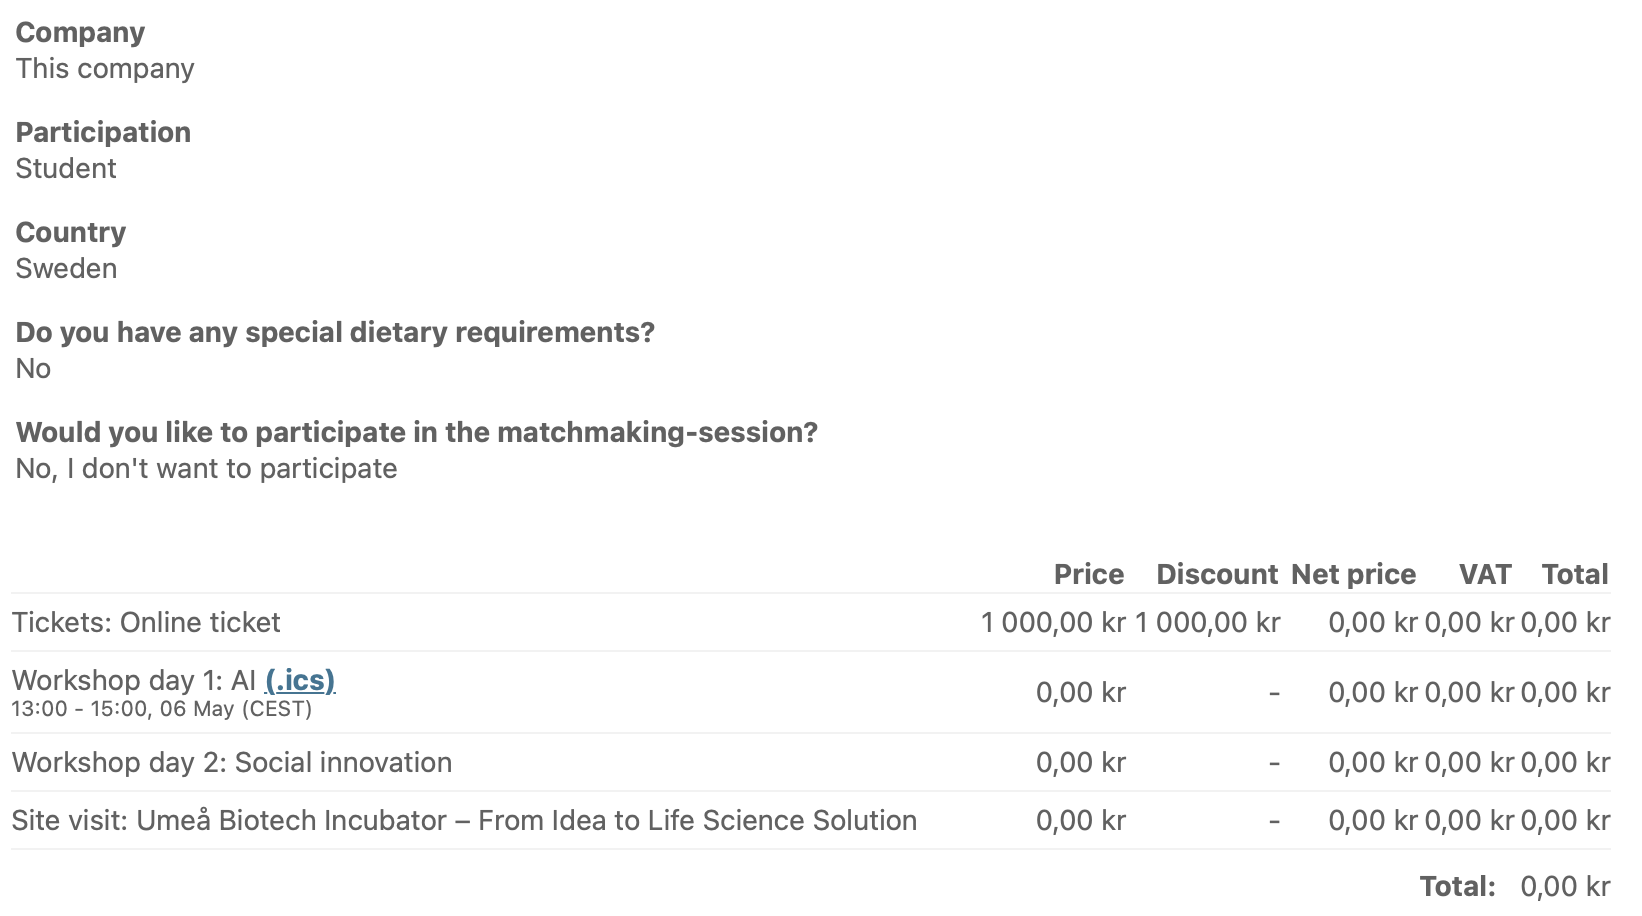
{{ registration_summary }}– Includes both the questionnaire and the order summary. Example:


QR code / check-in
Used to include a personal check-in QR code:
-
{{ qr_code }}– Inserts the participant’s unique QR code for check-in. Example (text has to be entered manually):

Links
These tags generate personalized links for each participant. When the email is sent, the tag is replaced with the correct URL tied to that specific registration:
-
{{ payment_link }}– Inserts a unique link where the participant can view their booking and complete their payment, if required. Example:
{{ my_event_link }}– Provides a personal link to the participant’s event page, where they can view their registration details, update their information, cancel or make changes in their booking (depending on your setup). Example (text has to be entered manually):


{{ invite_link }}- Inserts a clickable hyperlink using default link text. Example:

{{ invite_url }}- Inserts the raw URL to the participant’s personal invitation. Best used when you want to display or copy the full link. Example:

Alternatively, if you’d like to display it as a clickable hyperlink with custom link text, you can easily do so using the Insert/Edit Link tool. Example:


-
{{ survey_url?id=XXX }}- Inserts the raw URL to a specific survey. You can also use it with custom link text, similar to the example shown forinvite_urlabove.Example:
-
{{ survey_link?id=XXX }}- Inserts a clickable hyperlink to a specific survey, using default link text. Example:

