Creating A Questionnaire
This guide provides a step-by-step guide for creating a questionnaire, making it easy for users to gather valuable information during each registration process. By following these steps, users can customize their questionnaires with various field types and options, ensuring they meet specific needs.
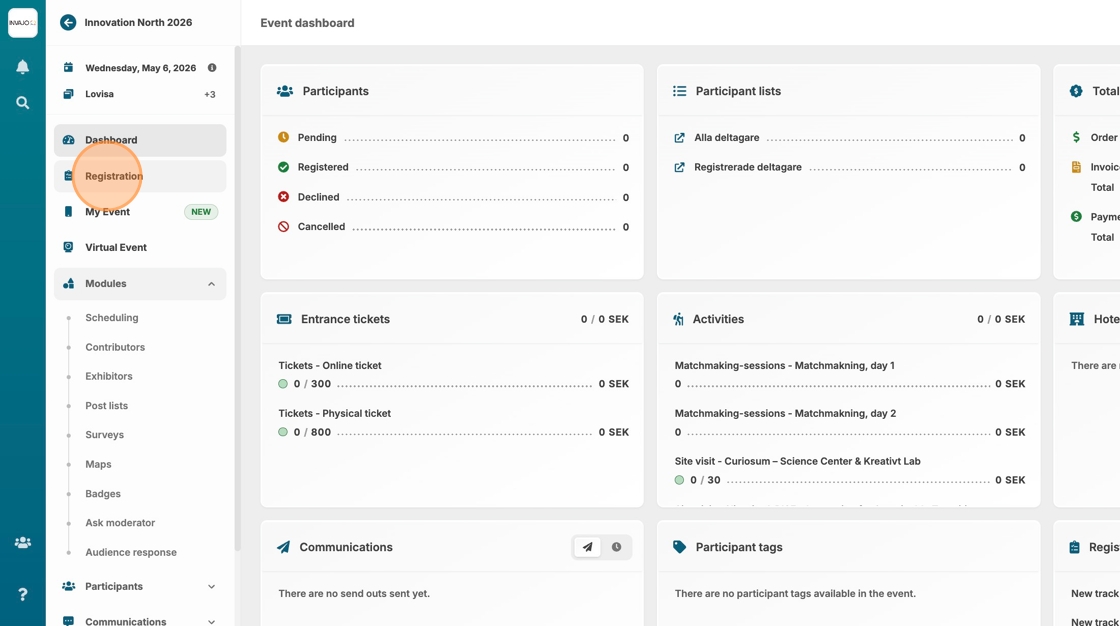
1. Navigate to "Registration".
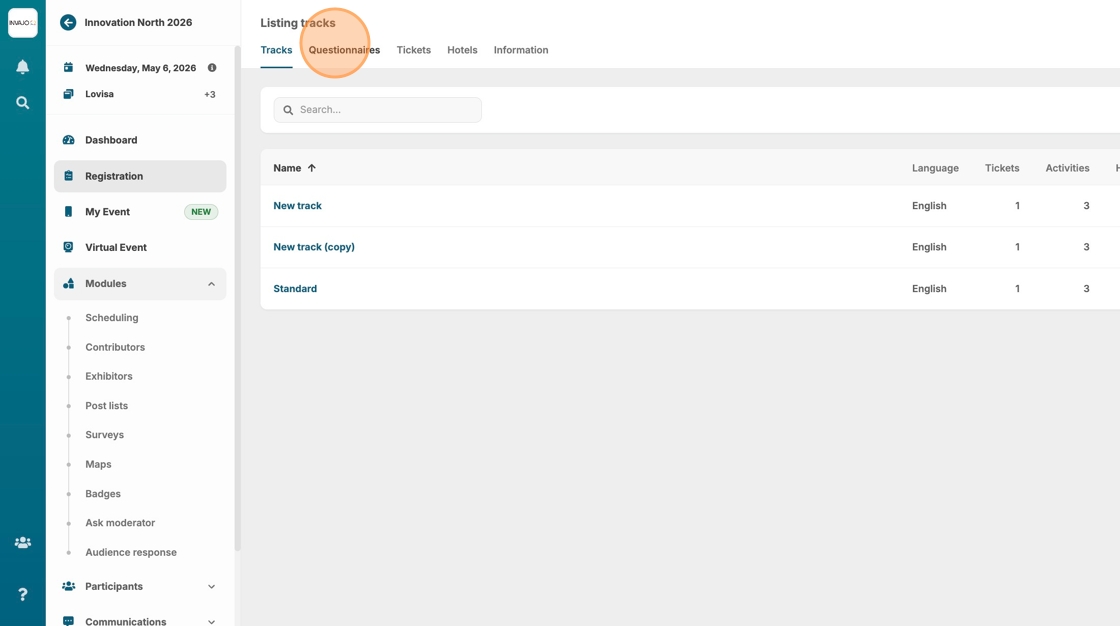
2. Click "Questionnaires"
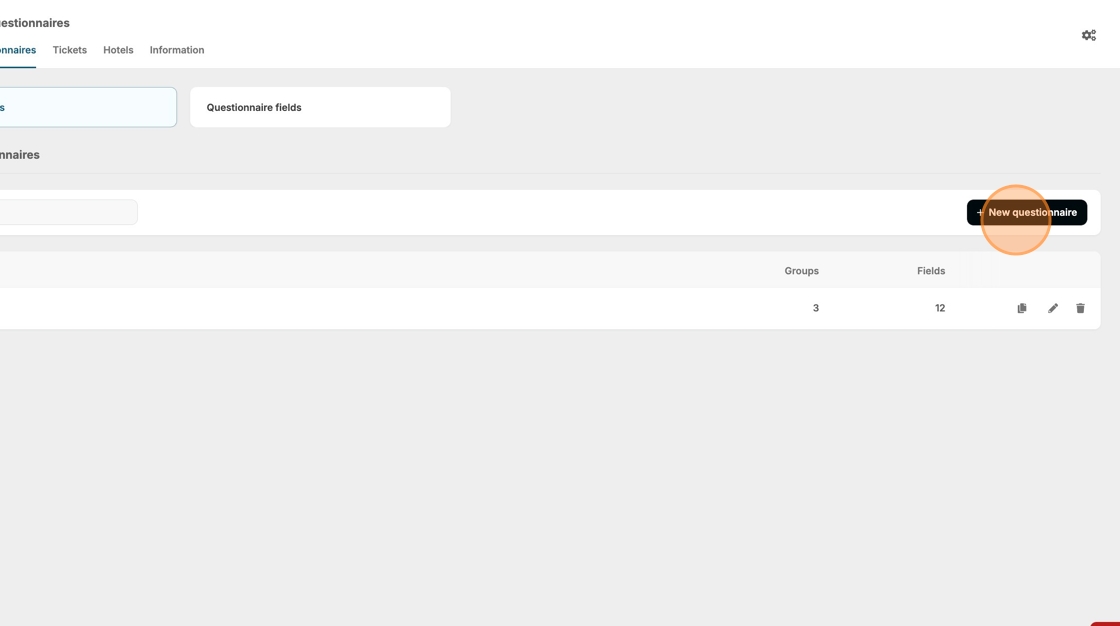
3. Click "New questionnaire"
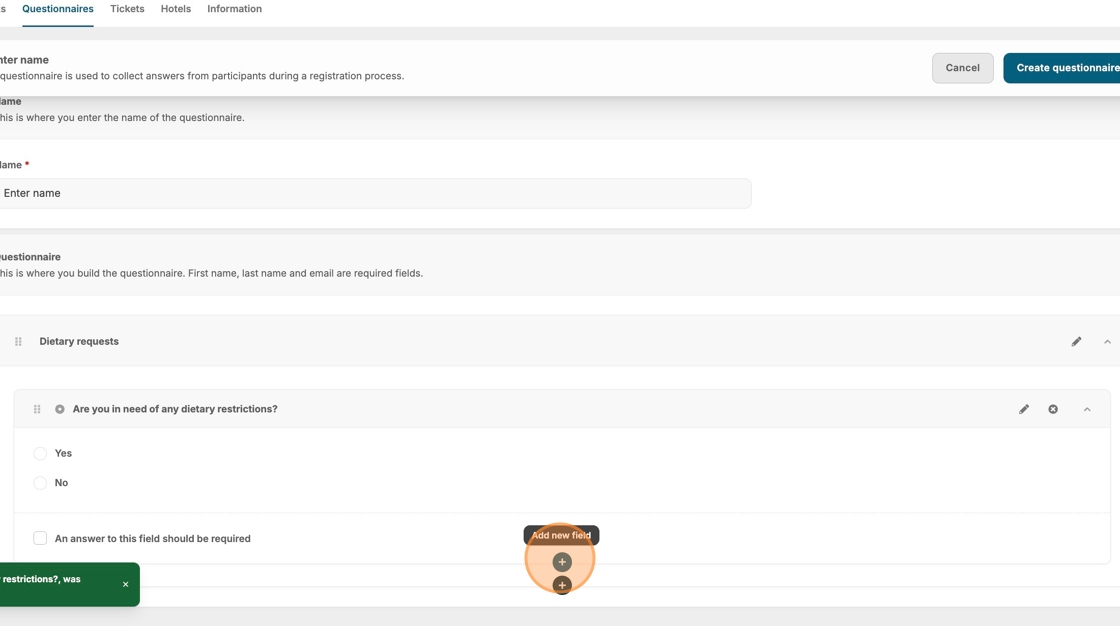
4. Type the internal name. This will help you find your new questionnaire later.
5. Click this button.
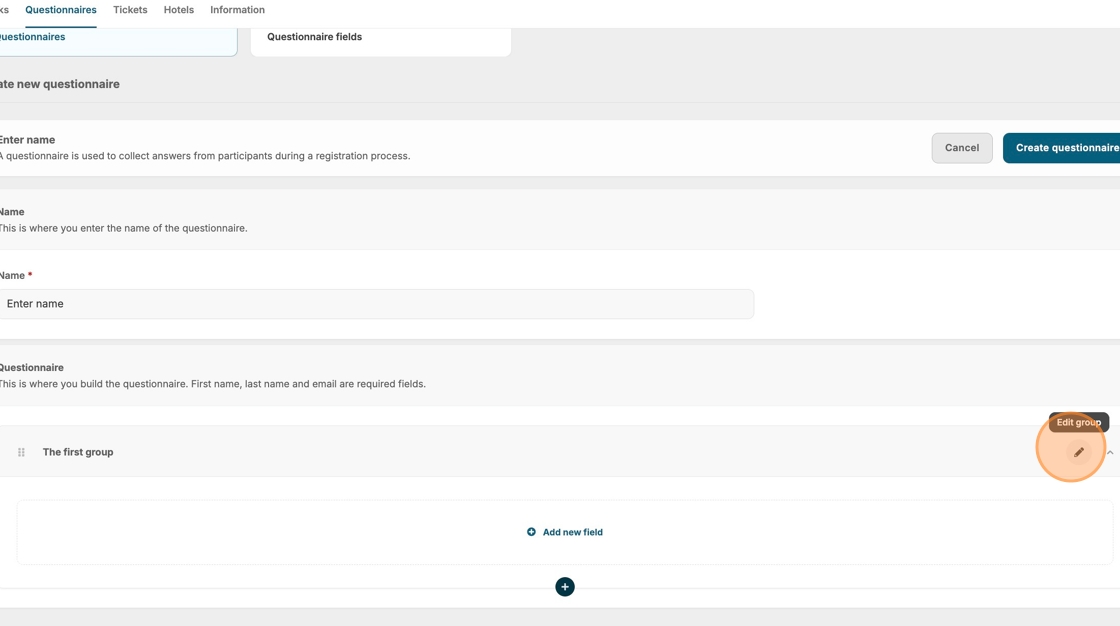
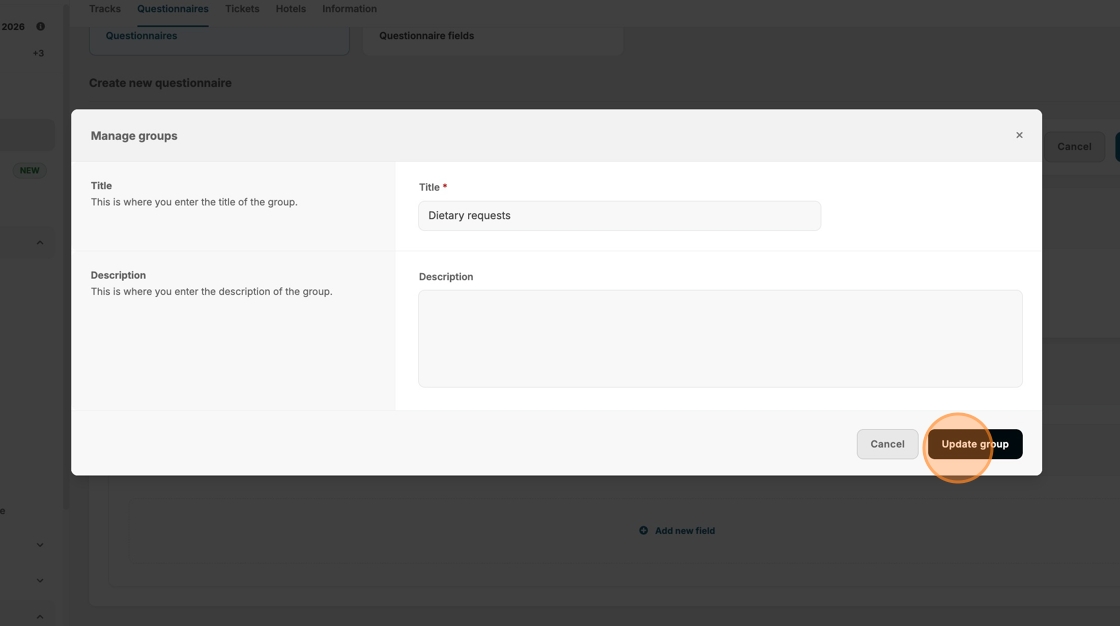
6. Add a group title.
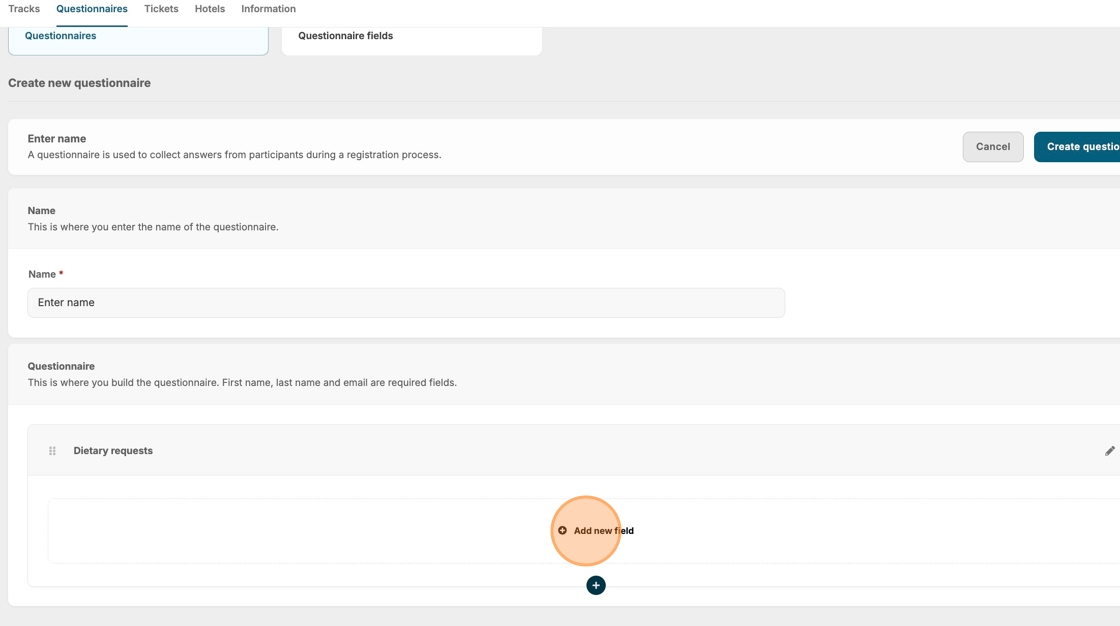
7. Click "Add new field"
8. If you have already created questions for your event, they will be available for selection.
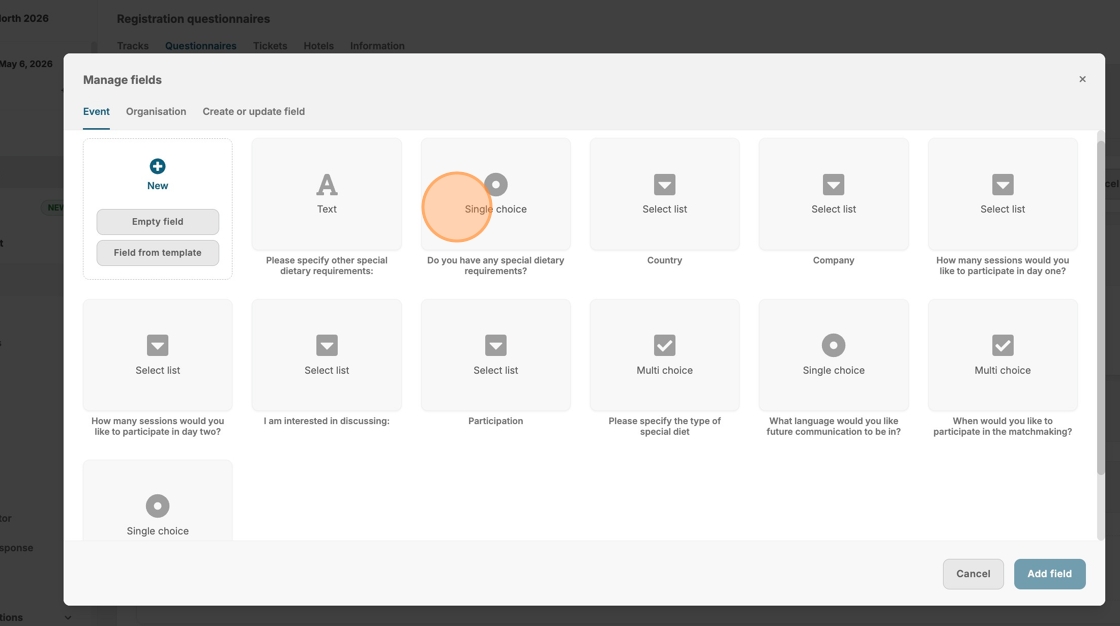
9. Click "Field from template" if you have organisation templates ready.
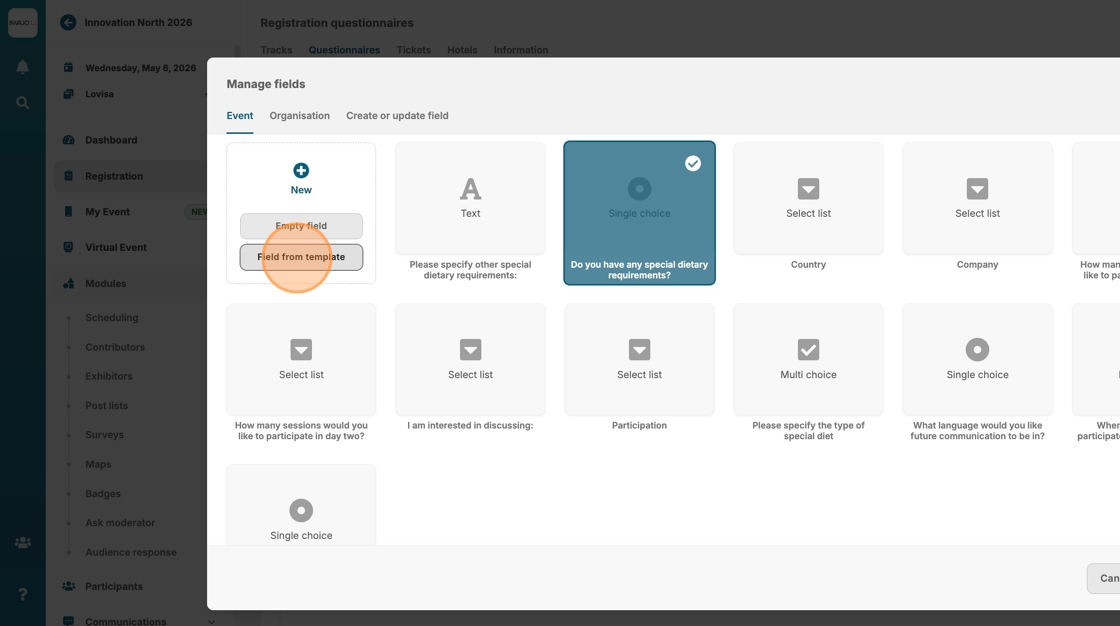
10. Click "Empty field" to create a new question.

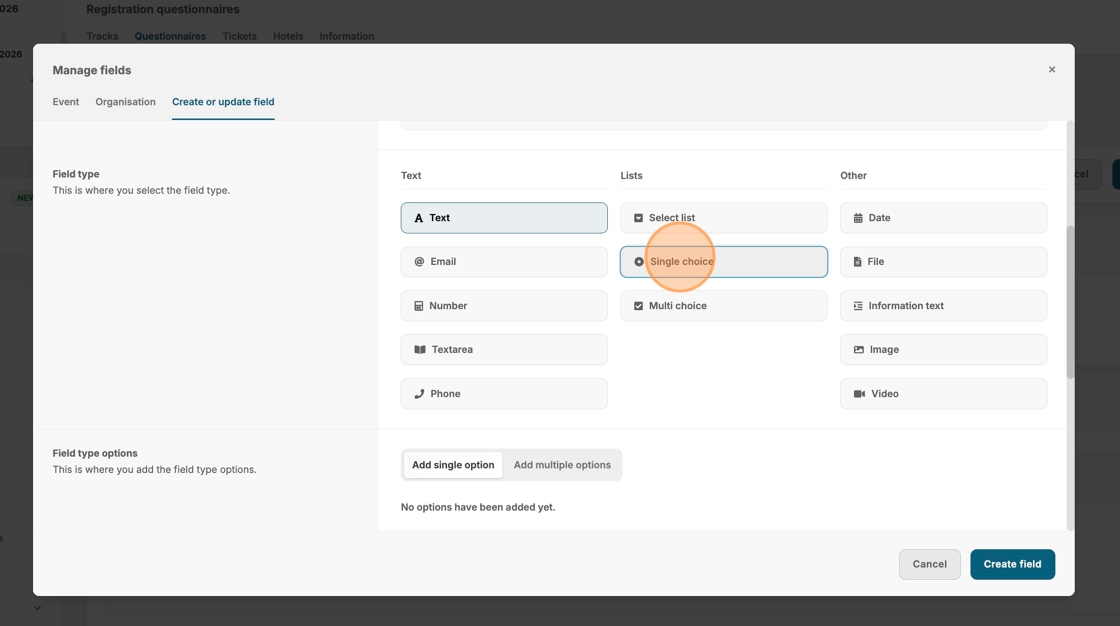
11. Type your question.
12. Click on a response field type that suits your question. Not sure which one to use? Read more about them here.
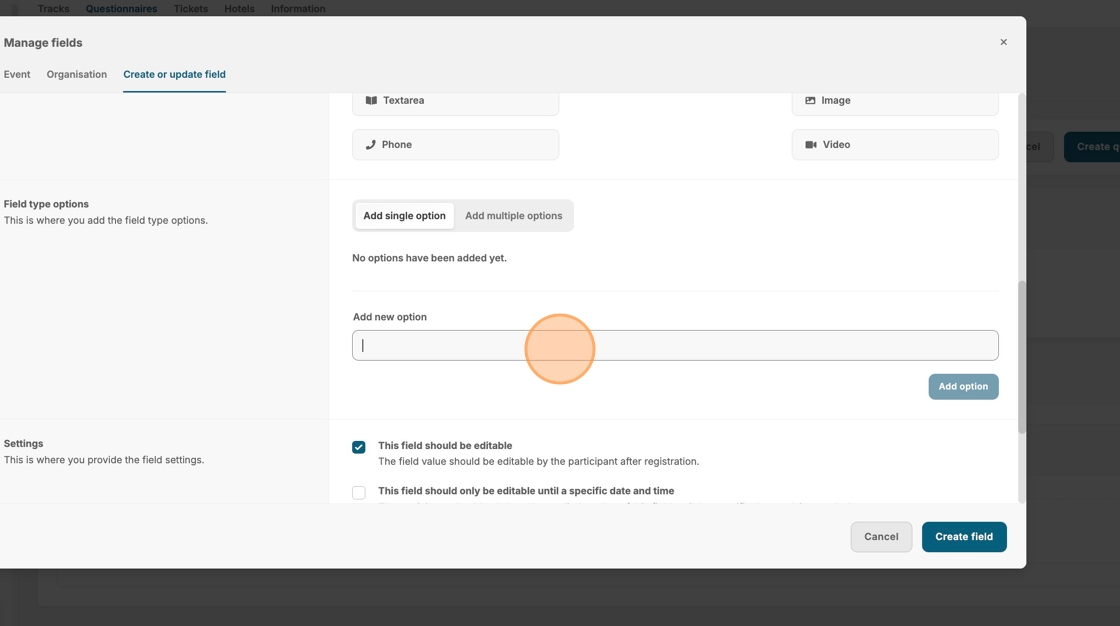
13. If your question will be presented with selectable option, you can add them here.
14. Click "Add multiple options" if you have many selectable options for a smoother input.
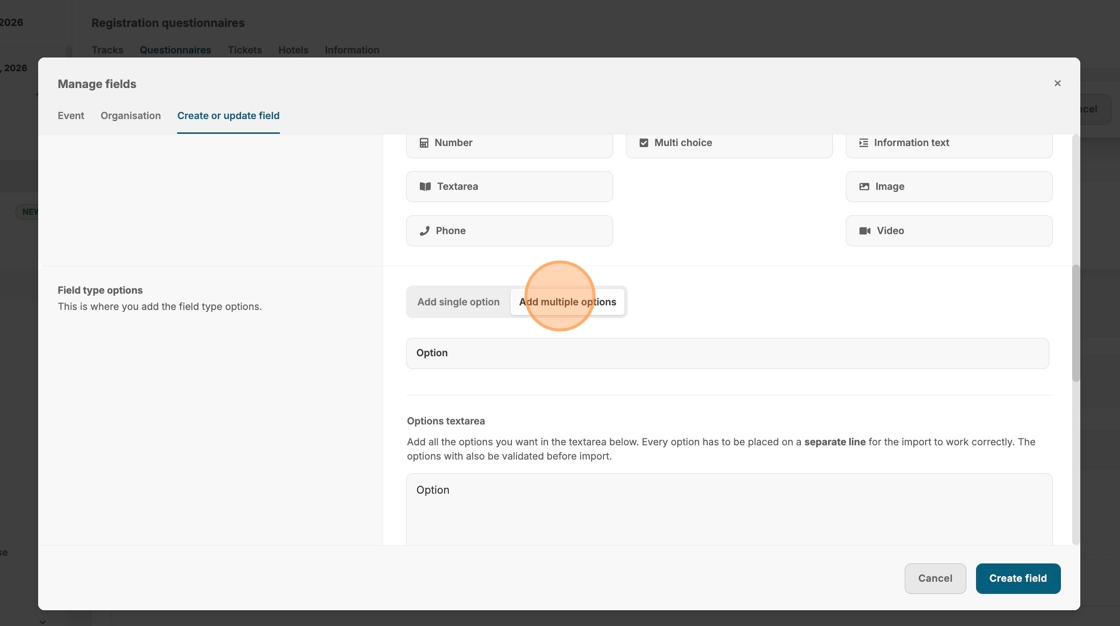
15. With "Add multiple options", you can simply type each selectable response on a new line.
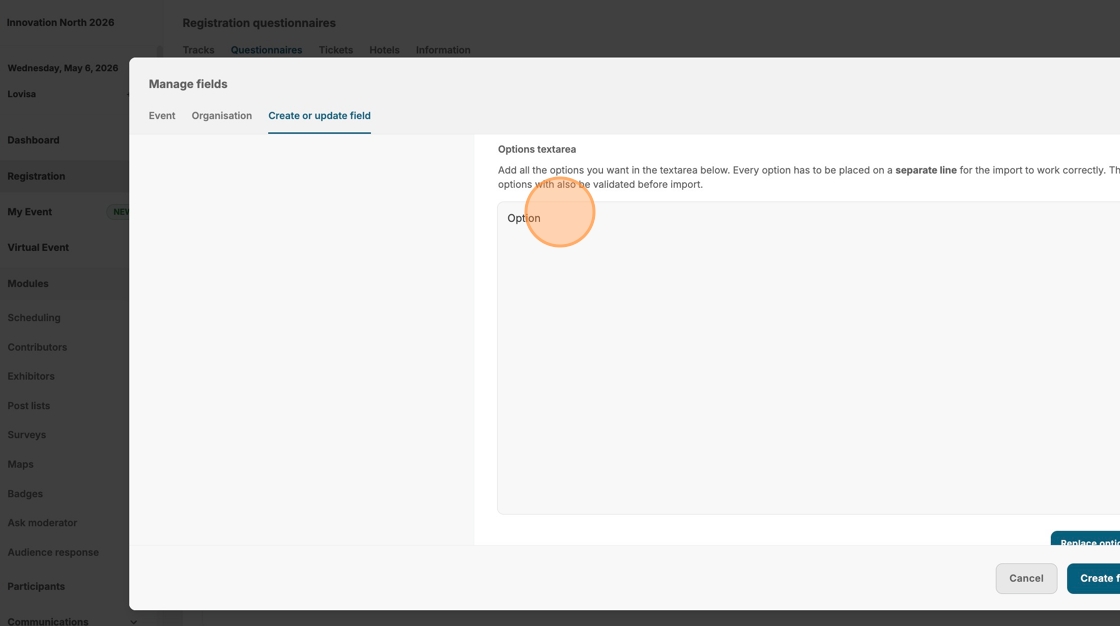
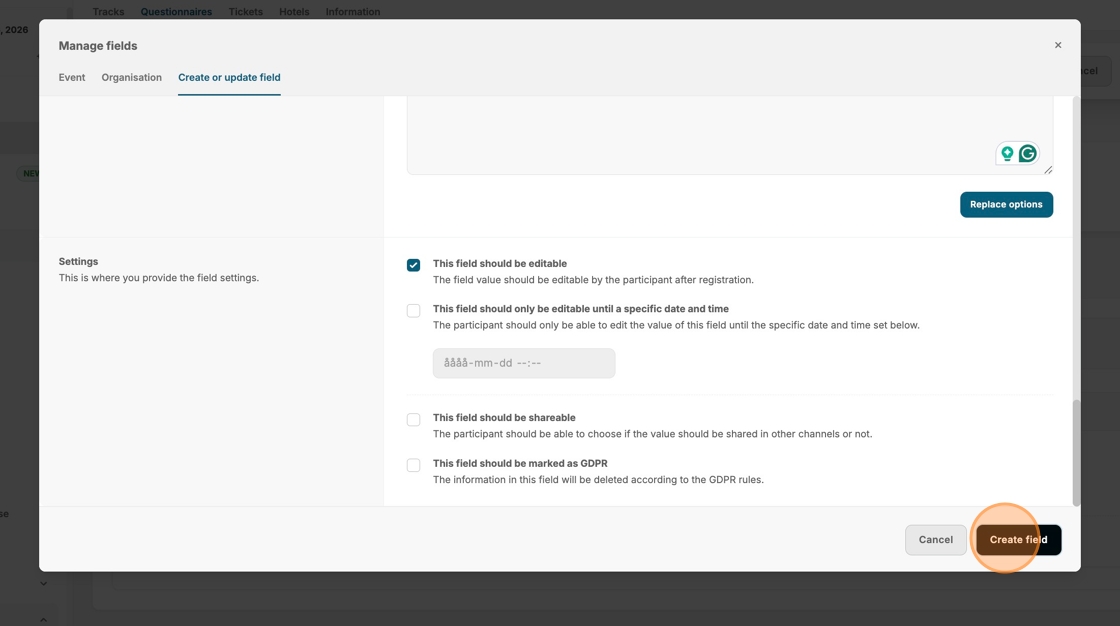
16. Click "Add options". Note: if you have already added an option, the button will be named "Replace options".
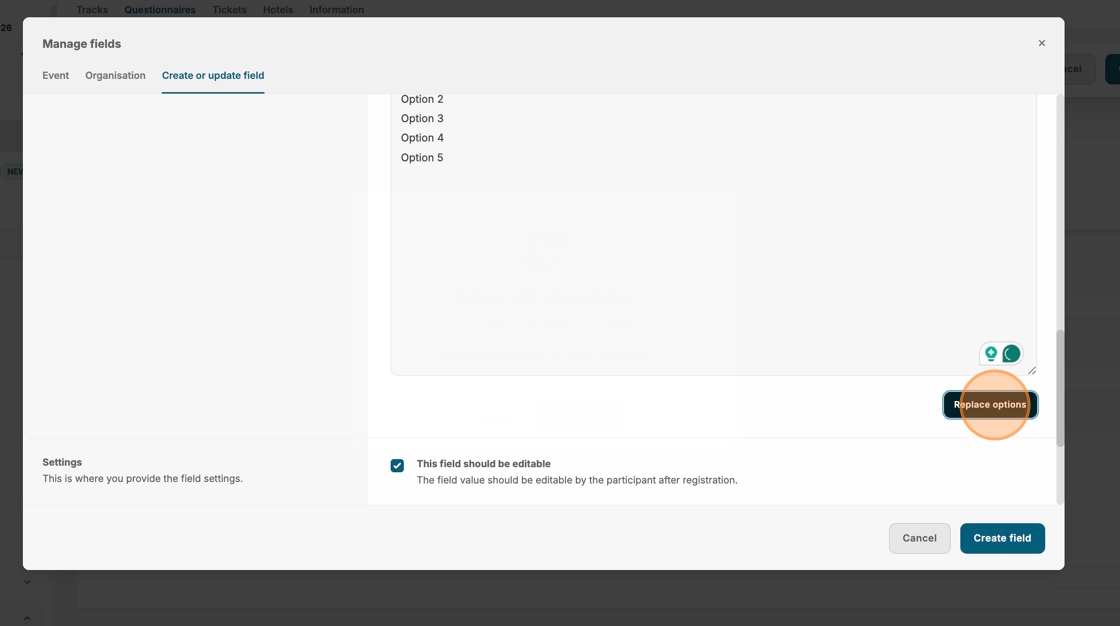
17. Confirm your options by clicking "Yes, add"

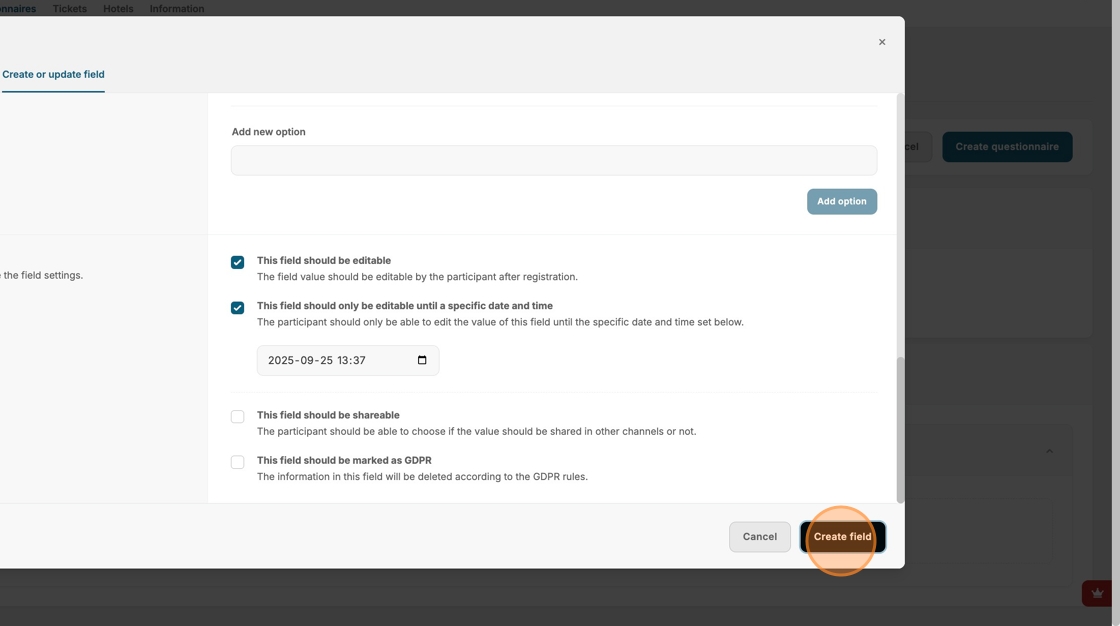
18. Choose if the participants should be able to edit their responses after registration.
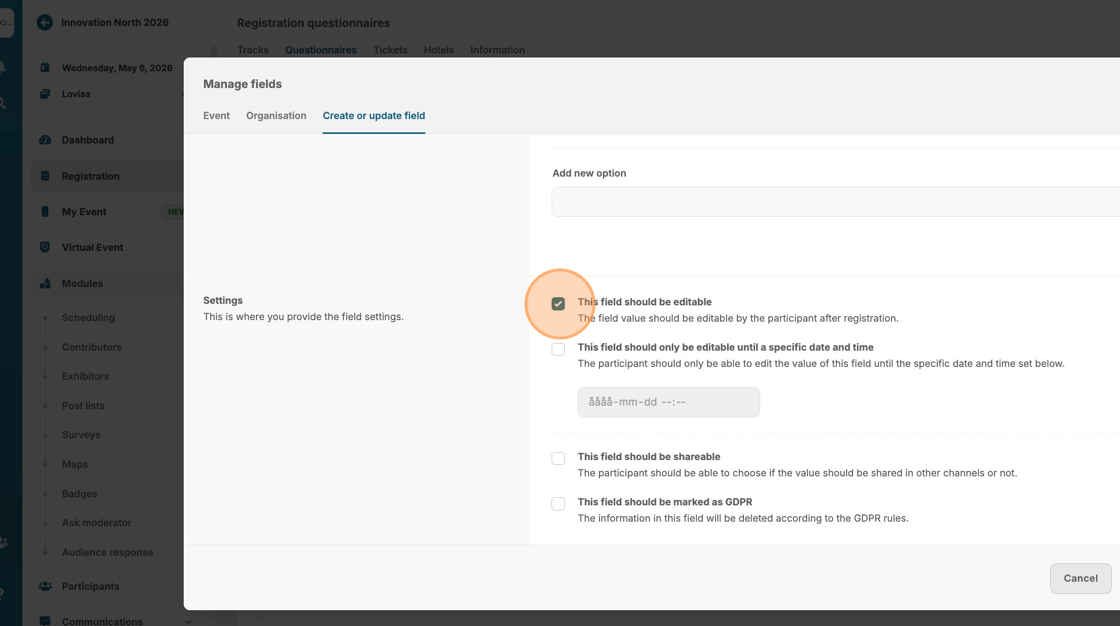
19. You can also set a time limit for how long this should be possible.
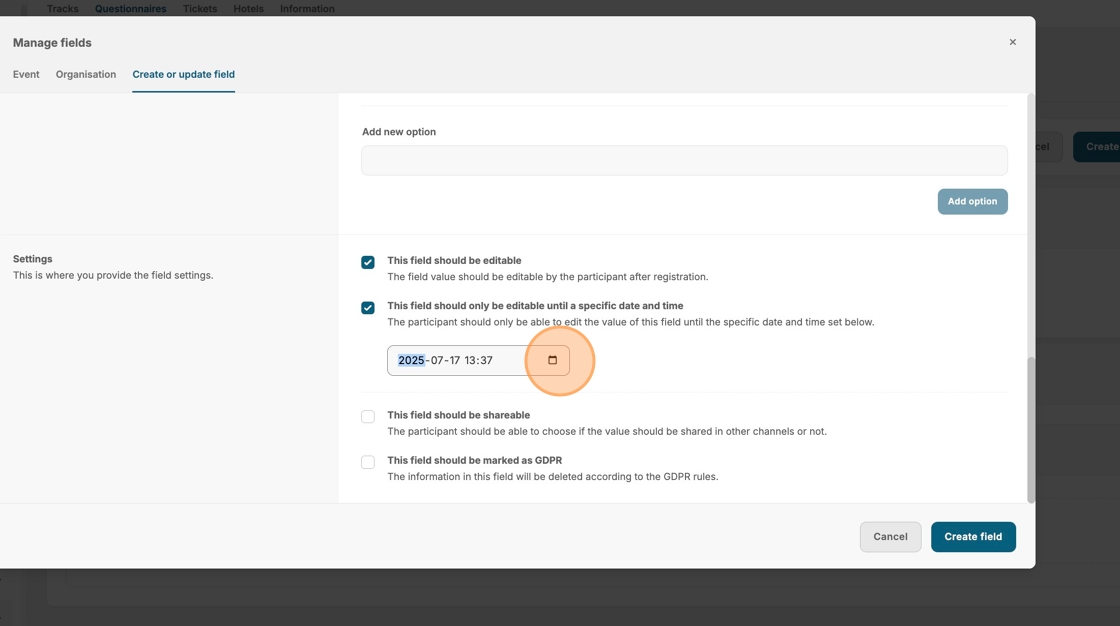
20. Click "Create field" to save this question.
21. Click this icon to create a new question.
22. Complete the setup by going through the same steps, and save.
23. Click here if you want to add a new group of questions, based by theme or purpose.
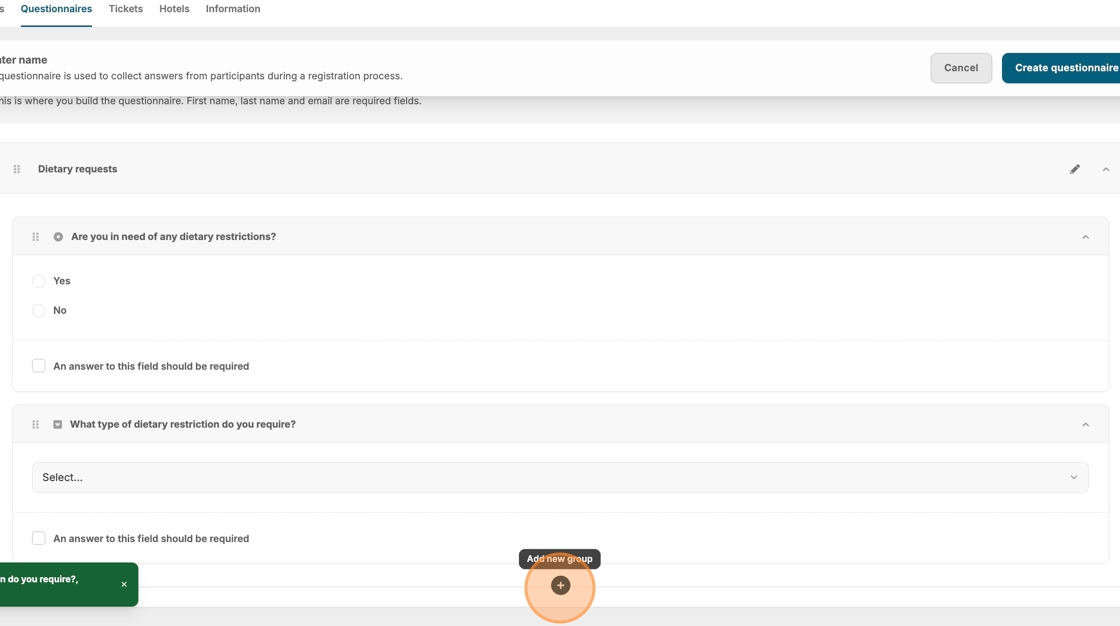
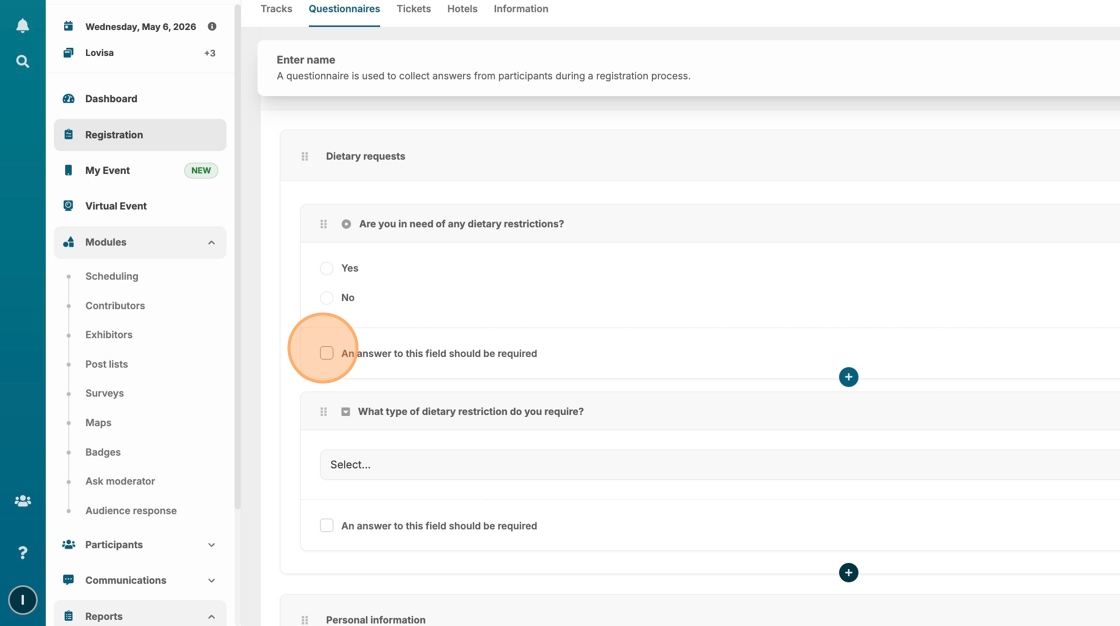
24. Click the "An answer to this field should be required" field to make a question mandatory.
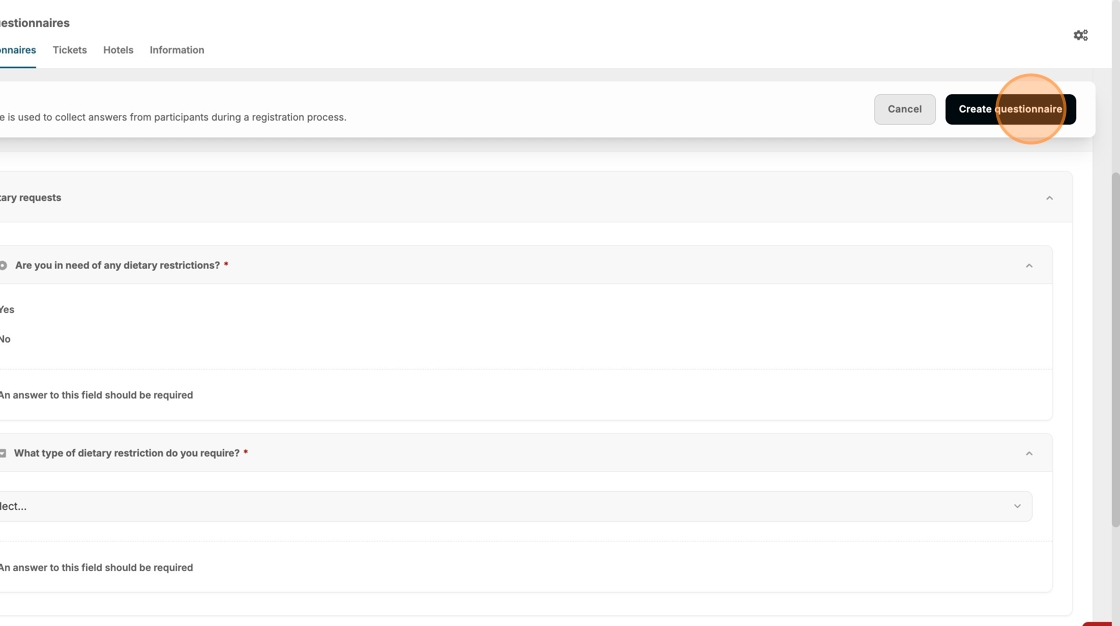
25. Click "Create questionnaire" when your happy with the result.
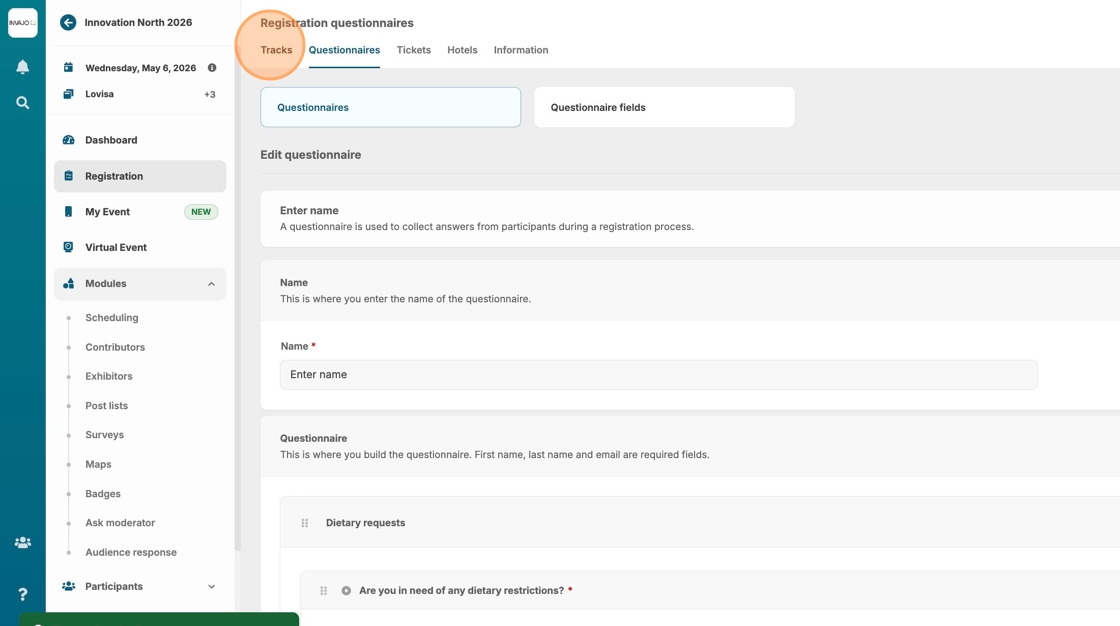
26. Now let's add the questionnaire to our registration track.
Click "Tracks", if you have several tracks created – select the desired one.
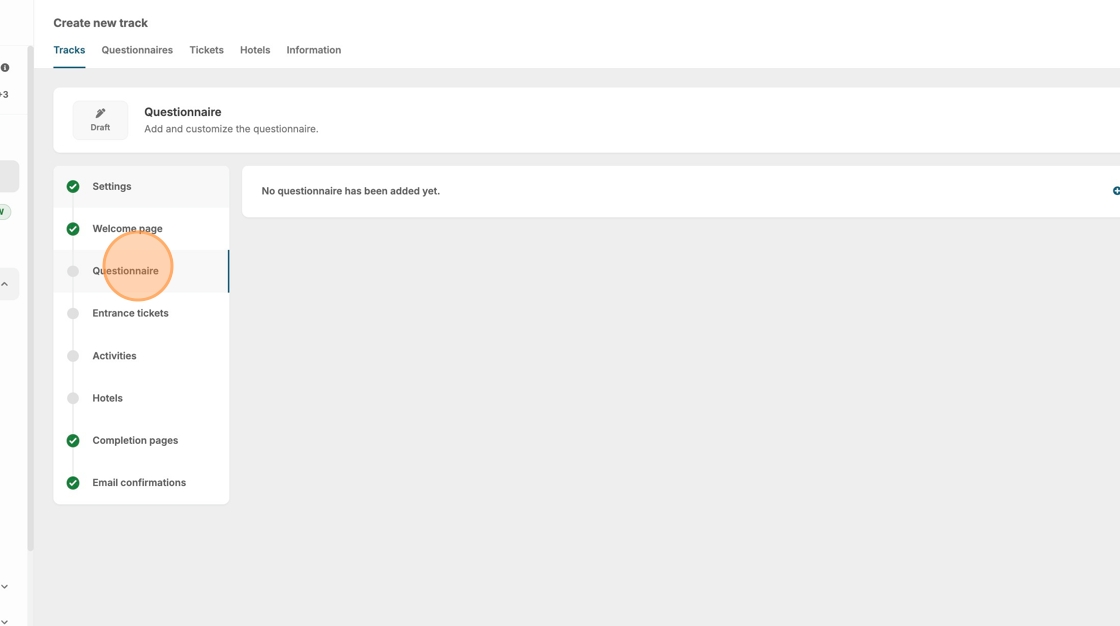
27. Click "Questionnaire"
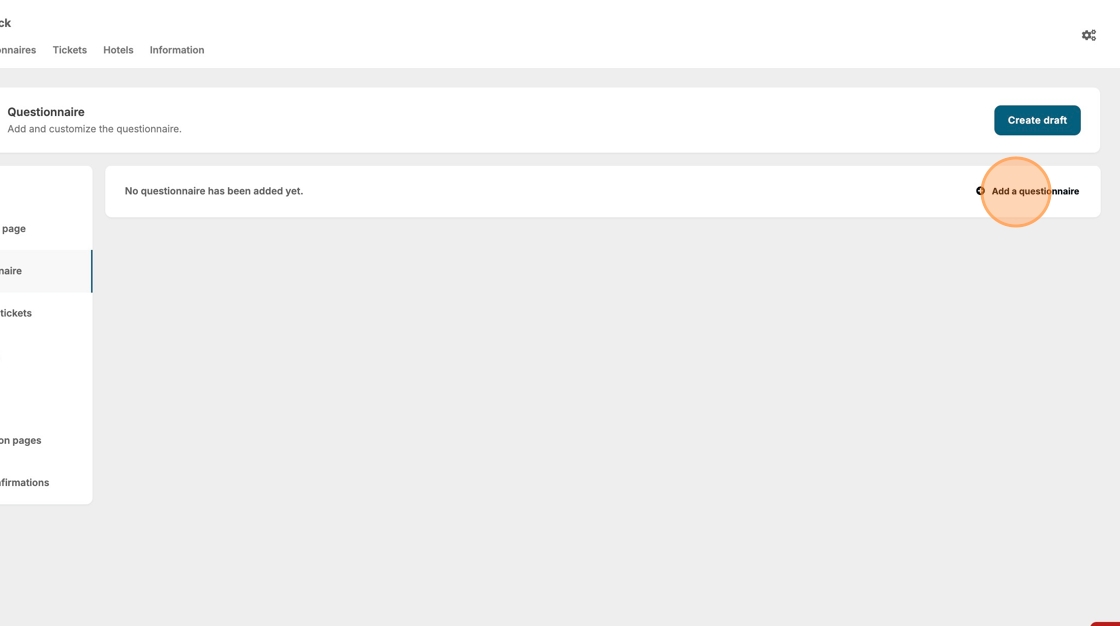
28. Click "Add a questionnaire"
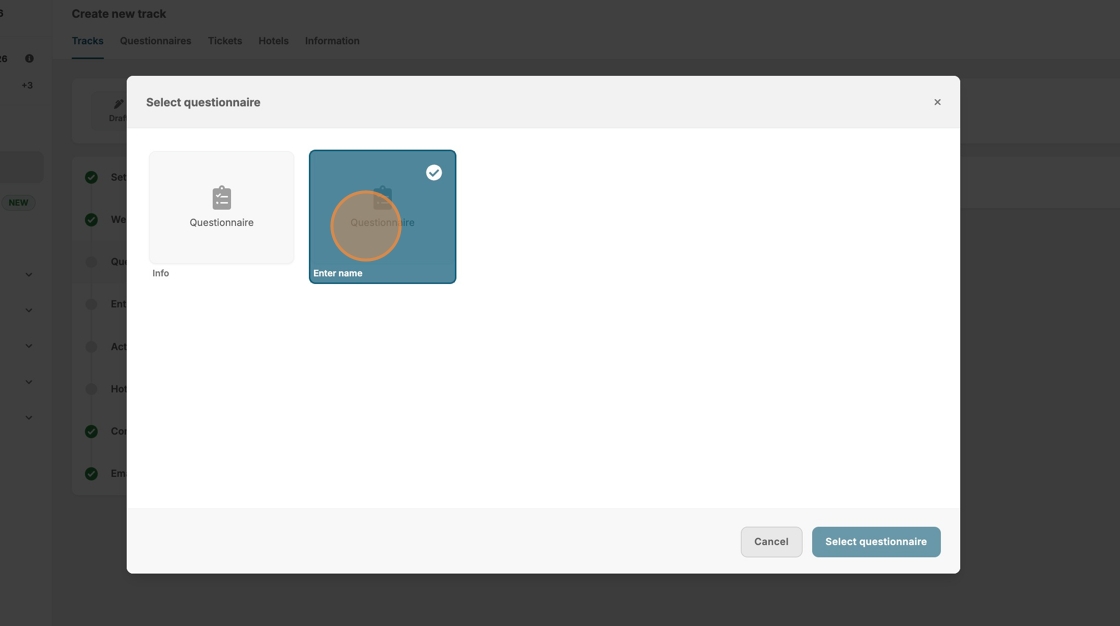
29. Choose the questionnaire that you would like to add.
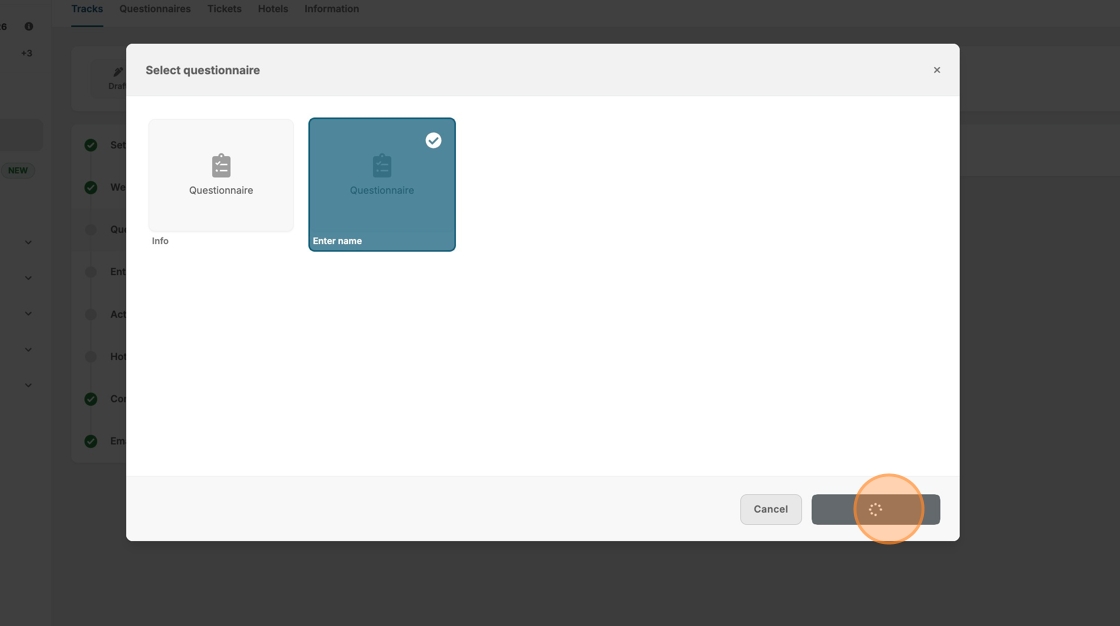
30. Click "Select questionnaire"
31. View your added questionnaire and add visibility rules if needed.
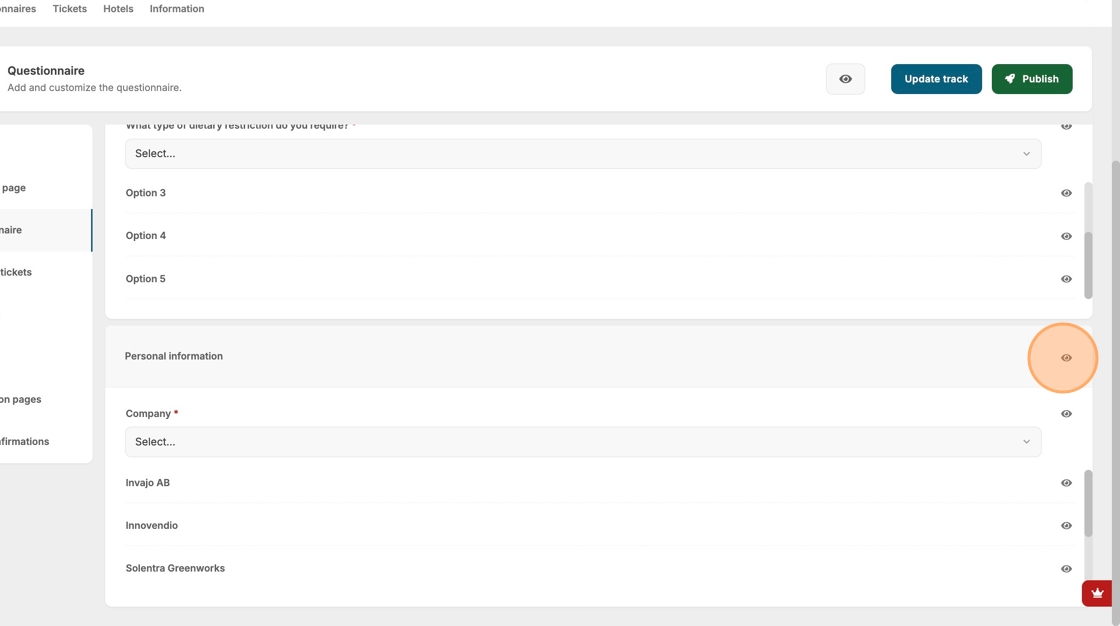
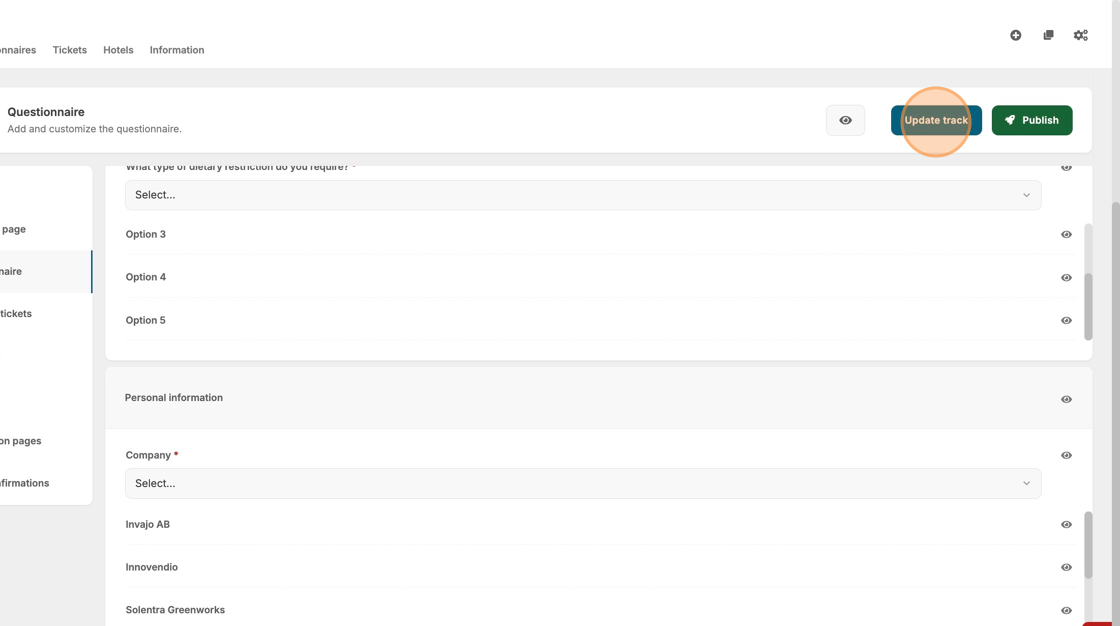
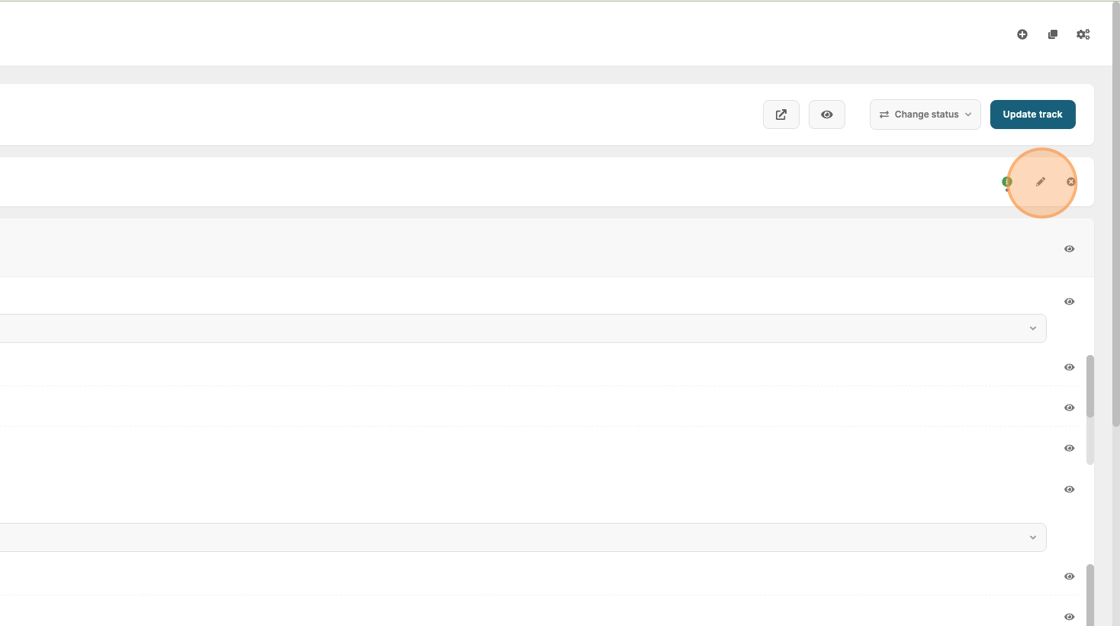
32. Click on the pencil icon to update or adjust your questionnaire.
33. Click this icon to save your settings.