Create and send event invitation
This guide shows how to create and send invitations for events using the communication module. Learn how to build your invitation, customize the message with event tags, and either schedule it or send it immediately to the right participants. It also shows how to track the delivery status for each recipient.
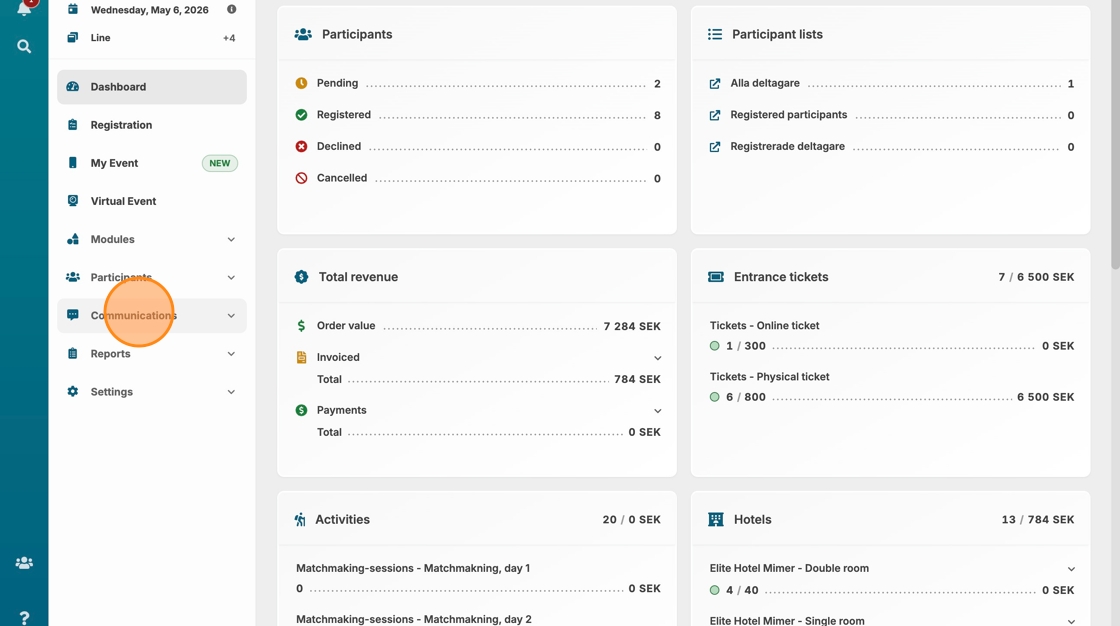
1. Go to "Communications"
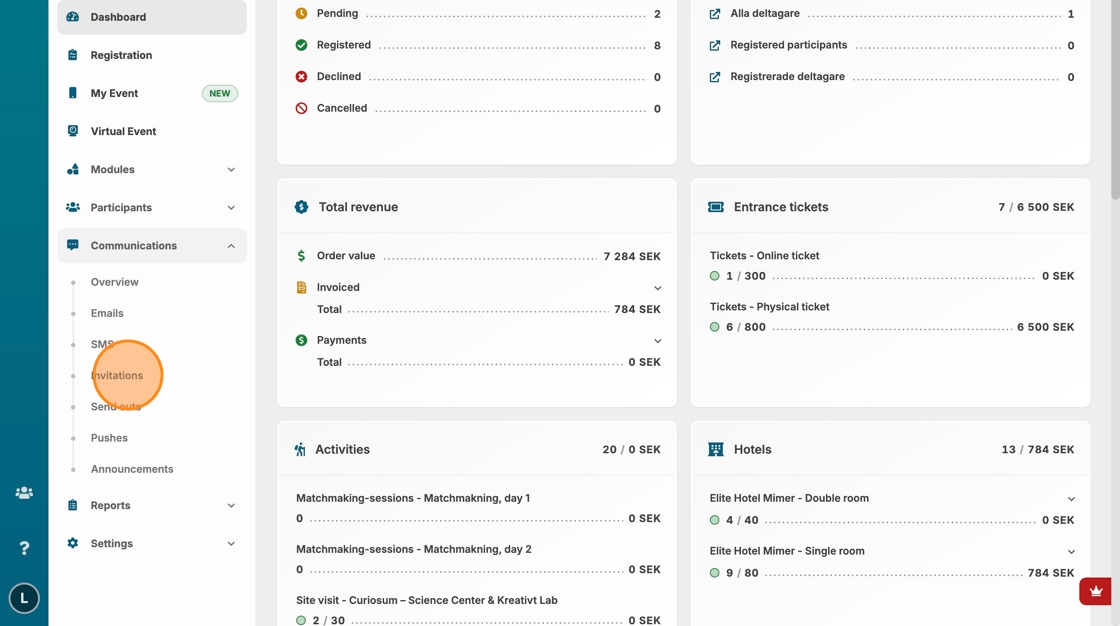
2. Click "Invitations"
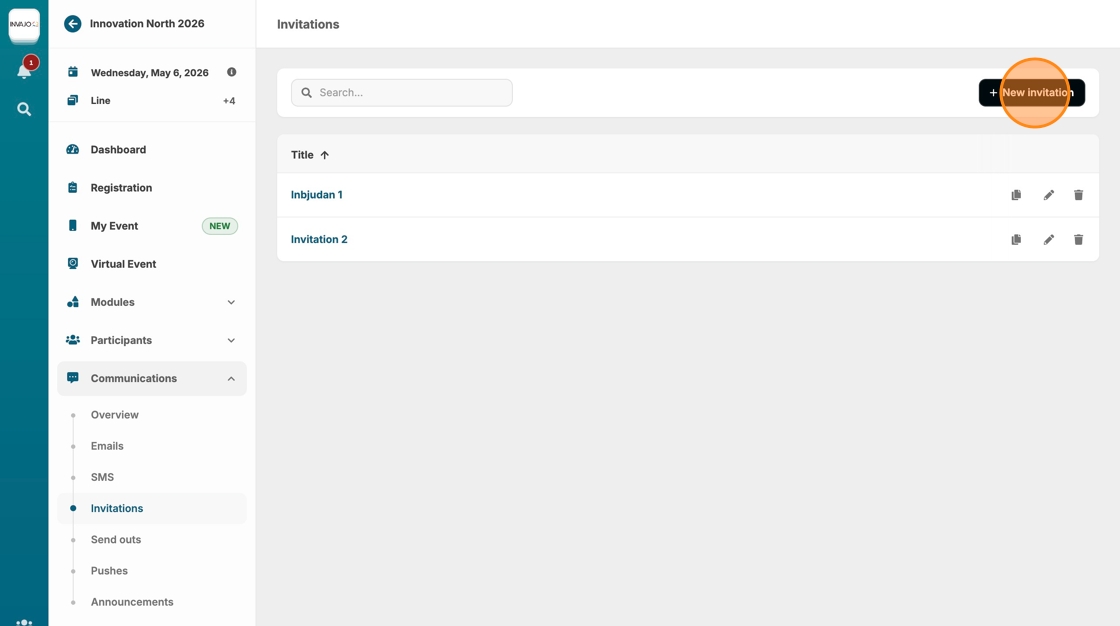
3. Click "New invitation"
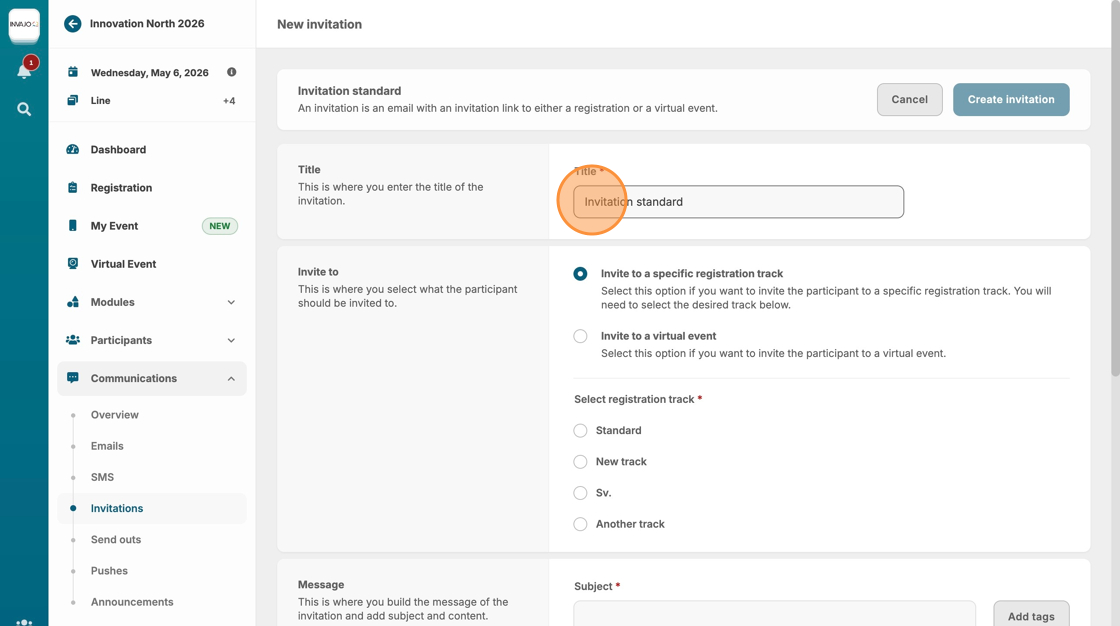
4. Click on "Title" and enter the internal name of the invitation. This title is for internal use only and will not be visible to participants.
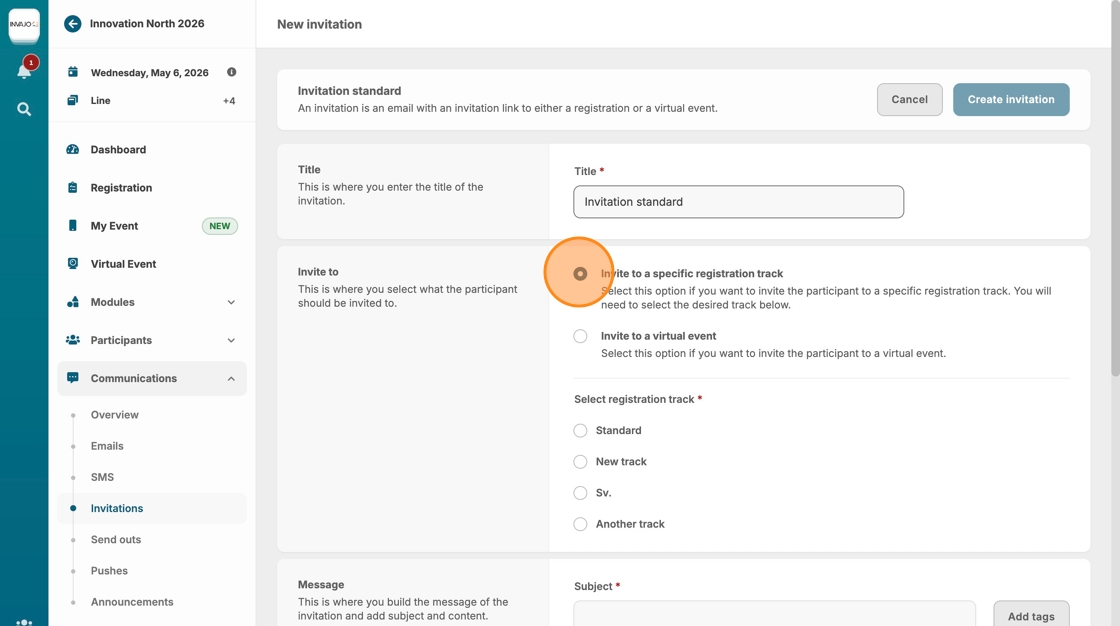
5. Click the "Invite to a specific registration track"
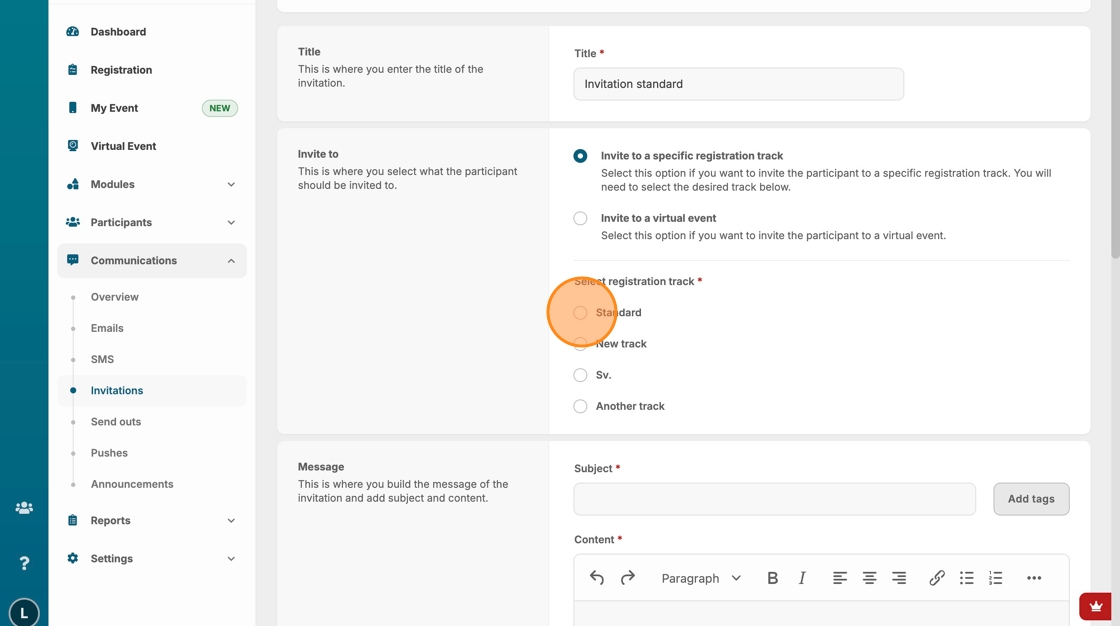
6. Select the registration track you’d like to send an invitation for. In this example, the track is called "Standard."
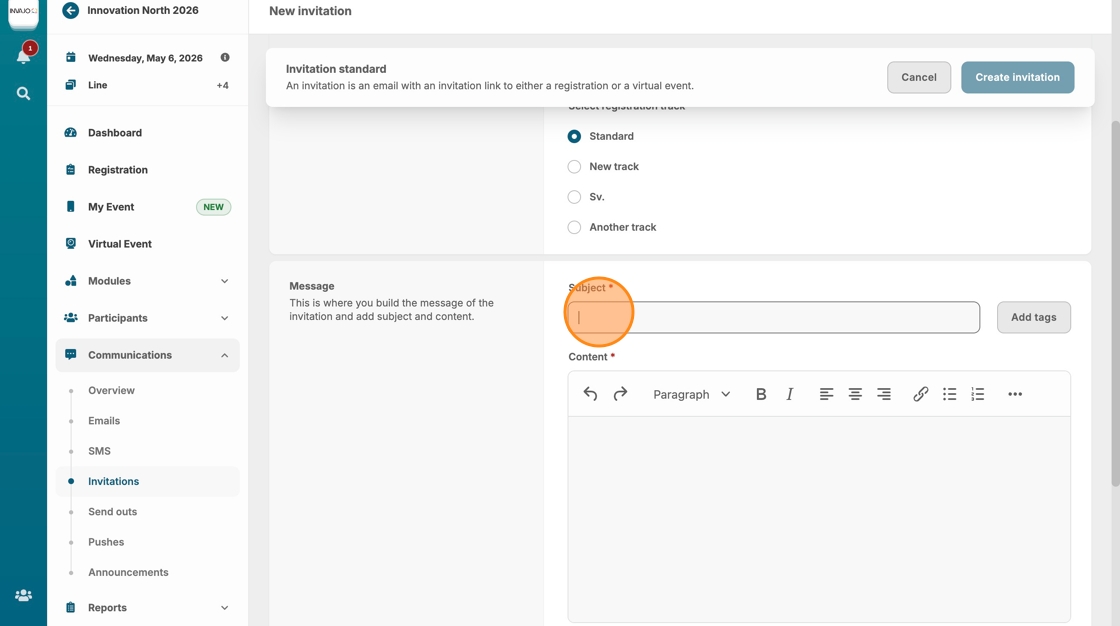
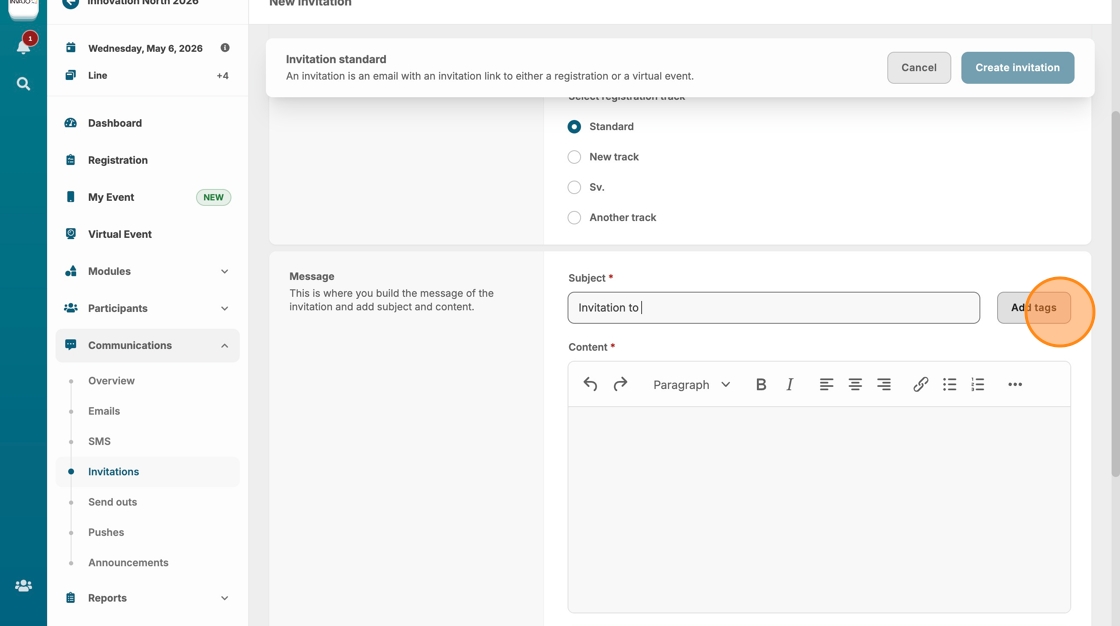
7. Click on the "Subject" field and enter your preferred subject line for the email invitation.
8. Click "Add tags" to use event tags in the subject line
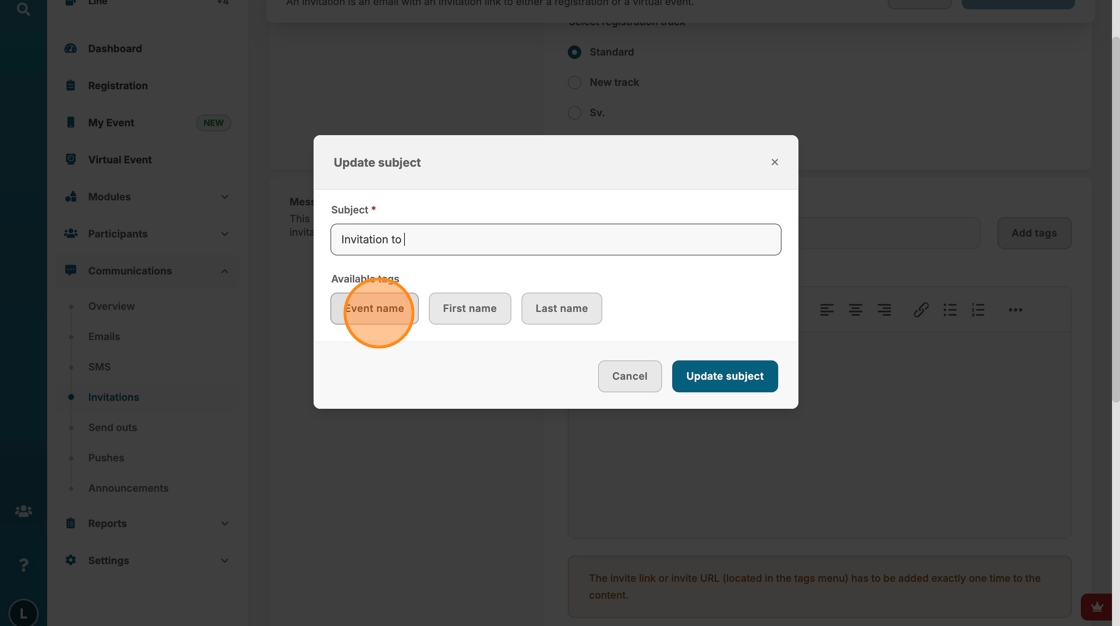
9. Select your preferred event tag
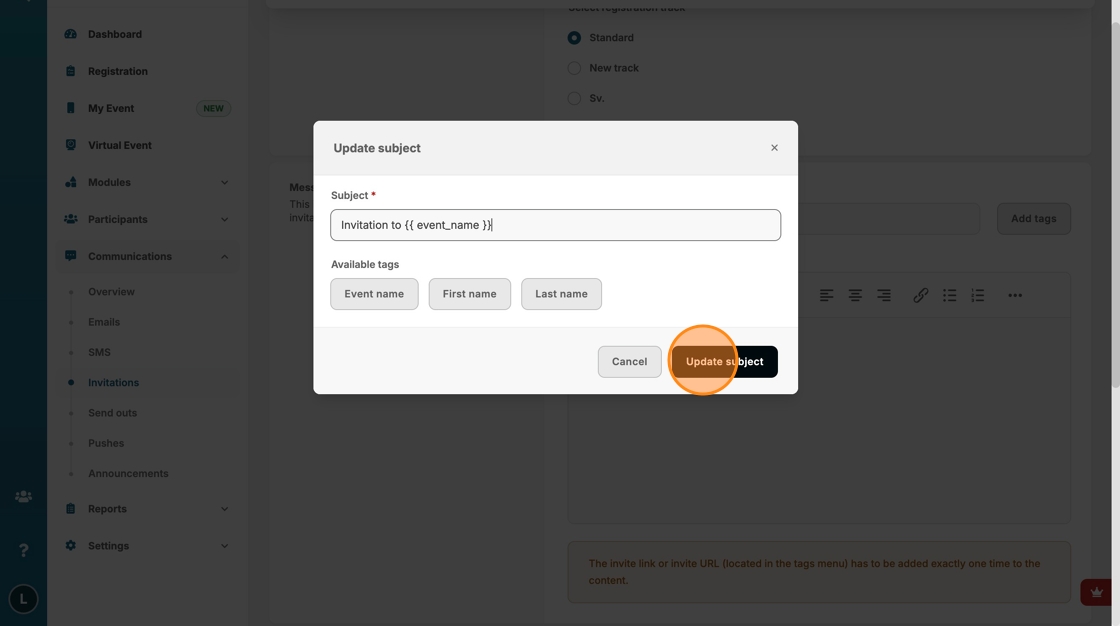
10. Click "Update subject"
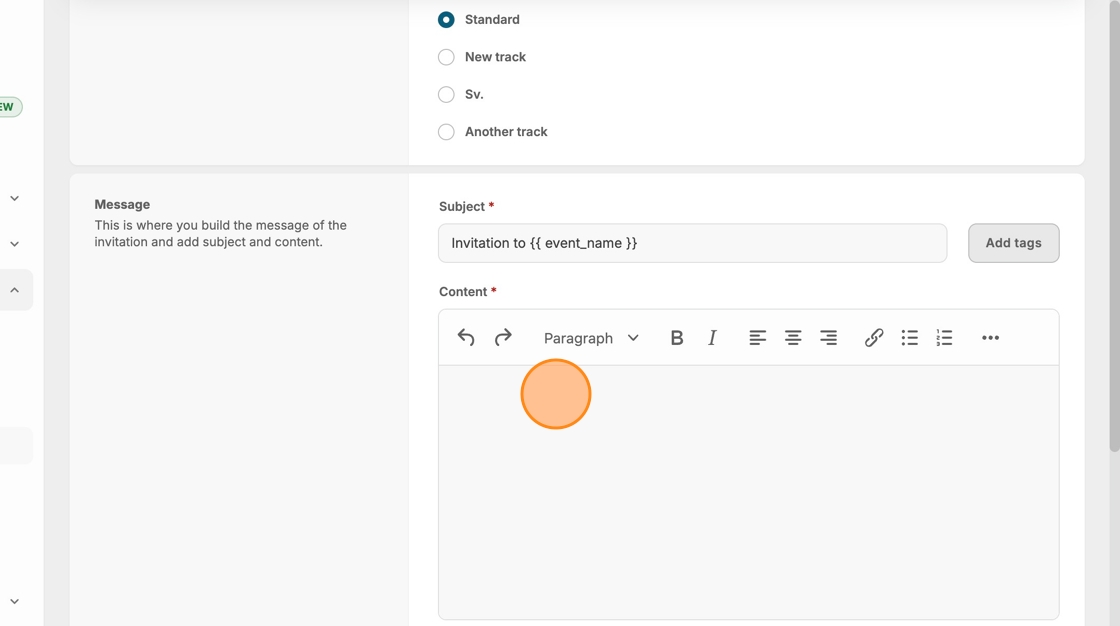
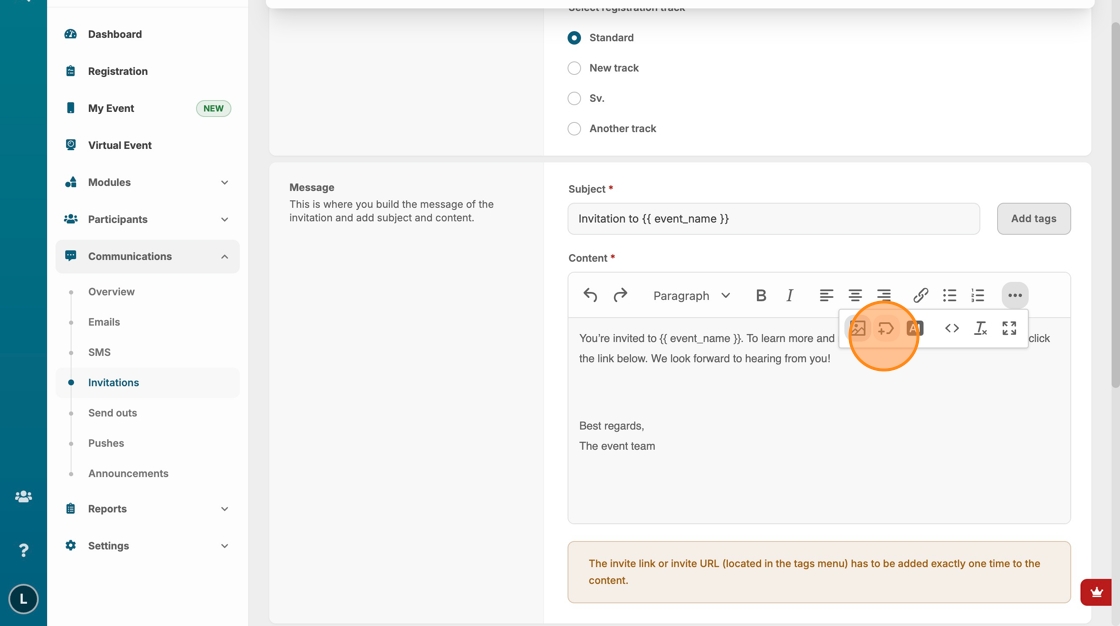
11. Click inside the text area and write your invitation message
12. Click the event tag icon to insert the required invite link or invite URL
13. Click "Links"
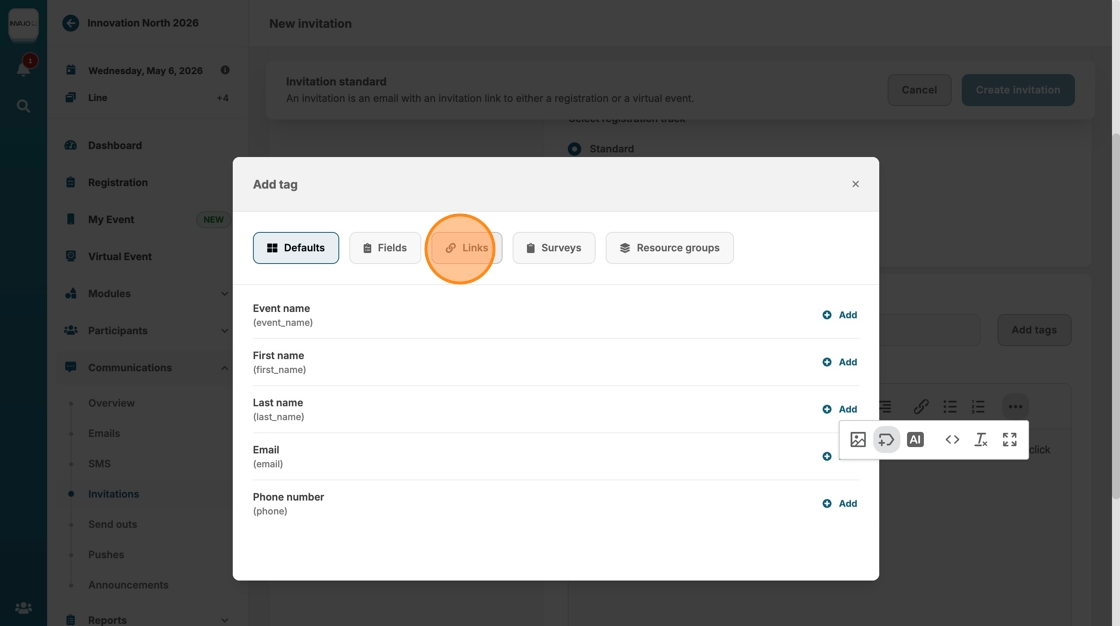
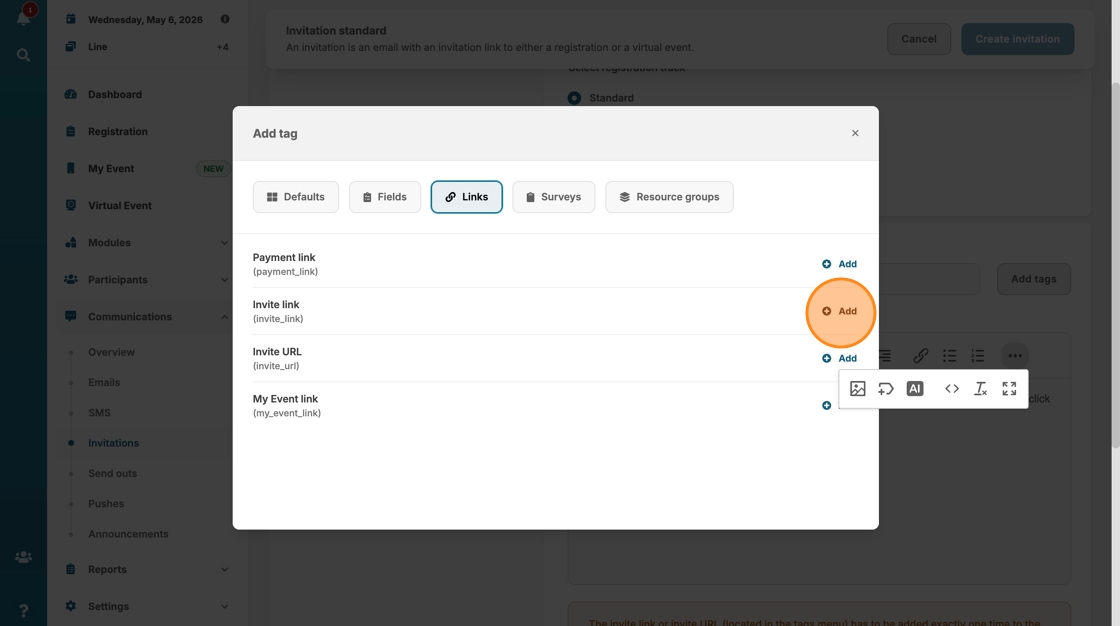
14. Add one of the two invitation tags:
[[invite_link ]]= Inserts a clickable hyperlink to the participant’s personal invitation, using default link text "Accept the invitation"
[[invite_url ]]= Inserts the raw URL to the participant’s personal invitation. Best used when you want to display or copy the full link. Alternatively, to make it a clickable hyperlink with custom link text, use the Insert/Edit Link tool and paste the event tag ({{ invite_url }} into the URL field instead of a static web address.
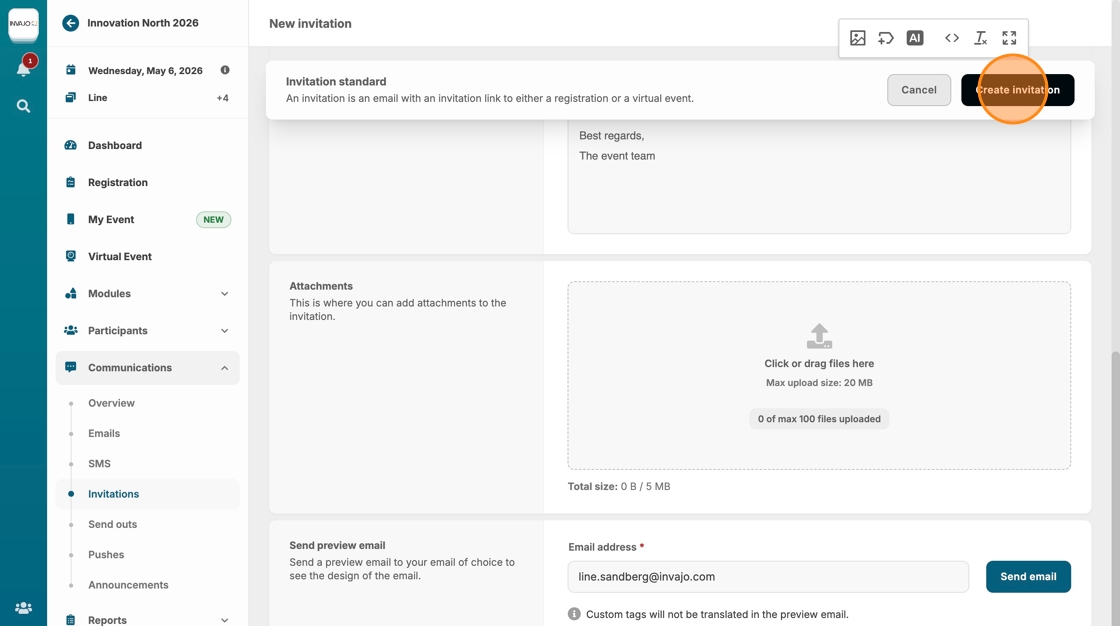
15. You can add attachments to the invitation by clicking or dragging files into this area

16. Send a preview email to review the design. Please note that event tags will not be visible in the preview, to see them in action, you’ll need to send a real invitation to yourself.

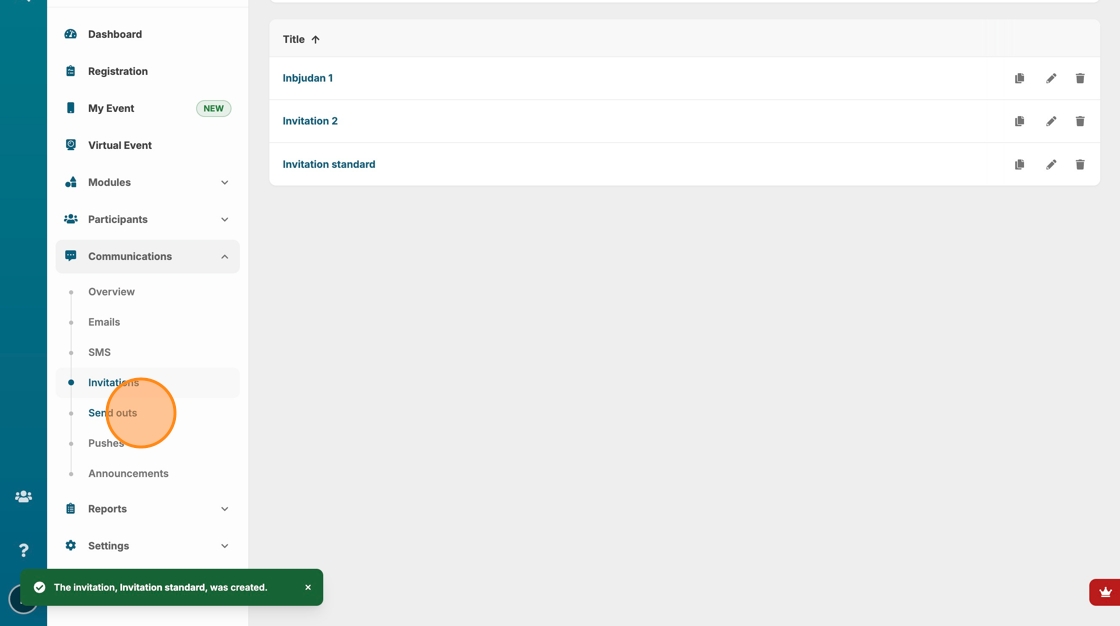
17. To complete and save your invitation, click "Create Invitation."
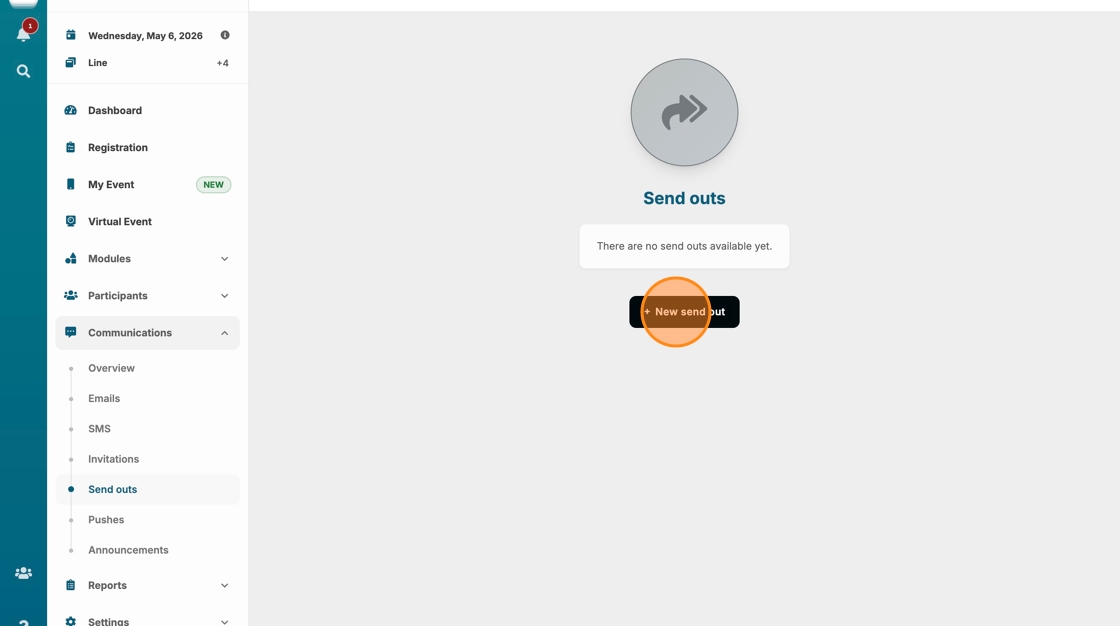
18. Next, you need to send out the invitation. To do this, go to the "Send outs" section.
19. Click "+ New send out"
20. Click on "Title" and enter the internal name of the send out. This title is for internal use only and will not be visible to participants.

21. Click the "Invitation"

22. Select the invitation you just created, in this case, "Invitation standard"

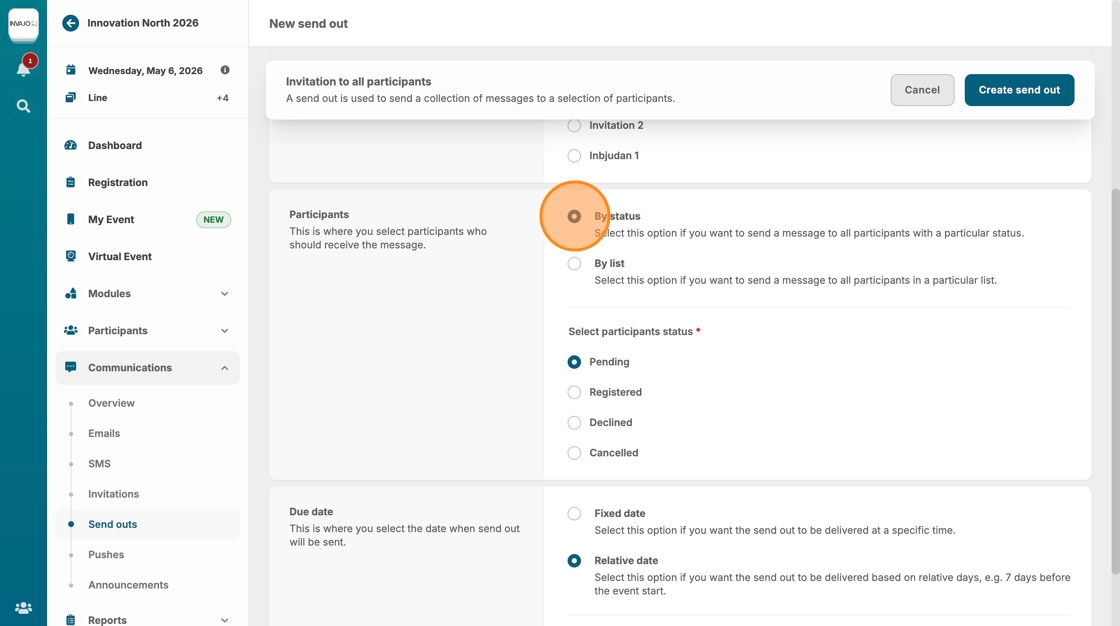
23. Click "By status" to send the invitation to participants based on their status.
Alternatively, you can send it to specific participant lists set up for the event by selecting "By list," which will display all available lists.
24. Click the "Pending" field to send the invitation to all participants who have been imported and/or still have a pending status.
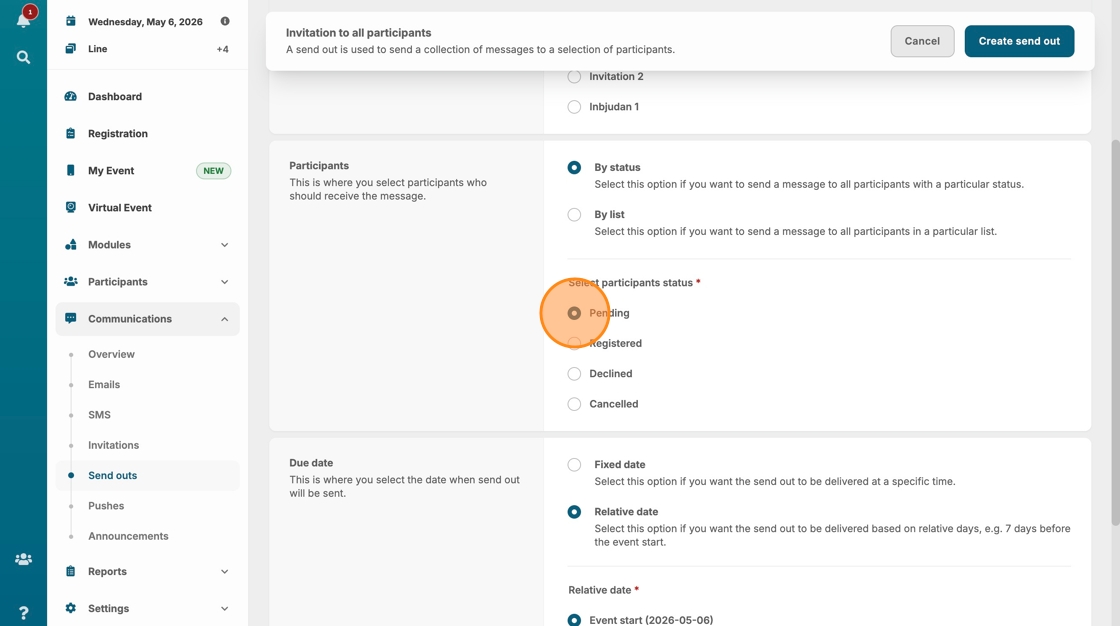
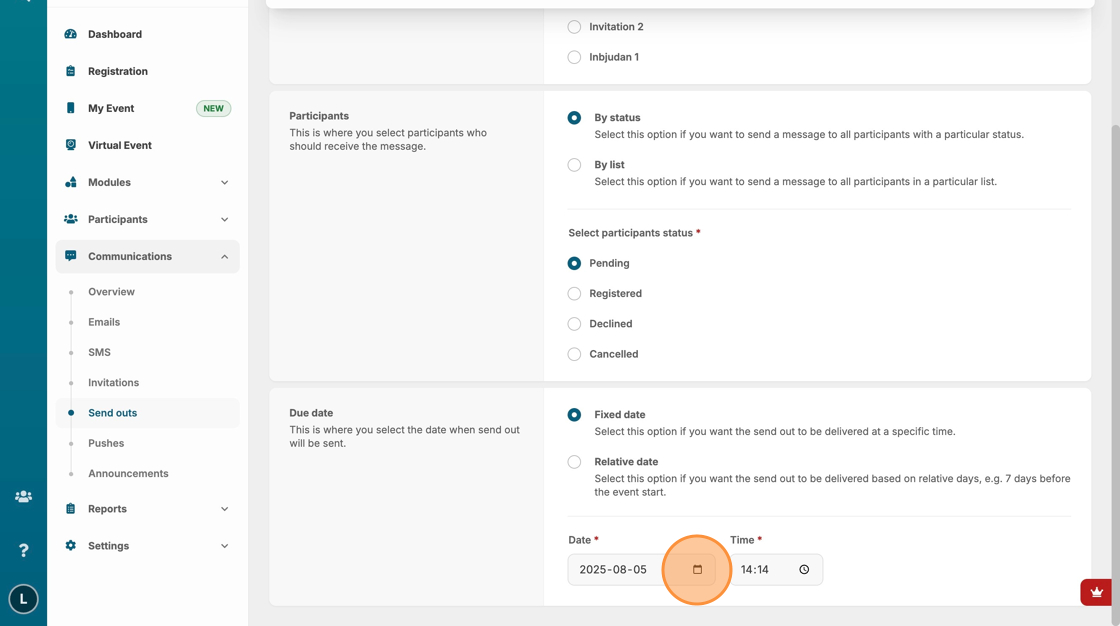
25. Click the "Fixed date" if you want the send out to be delivered at a specific time.
Alternatively, choose "Relative date" if you want the send out to be delivered based on relative days, e.g. 7 days before the event start.

26. Set your preferred date and time for the send out
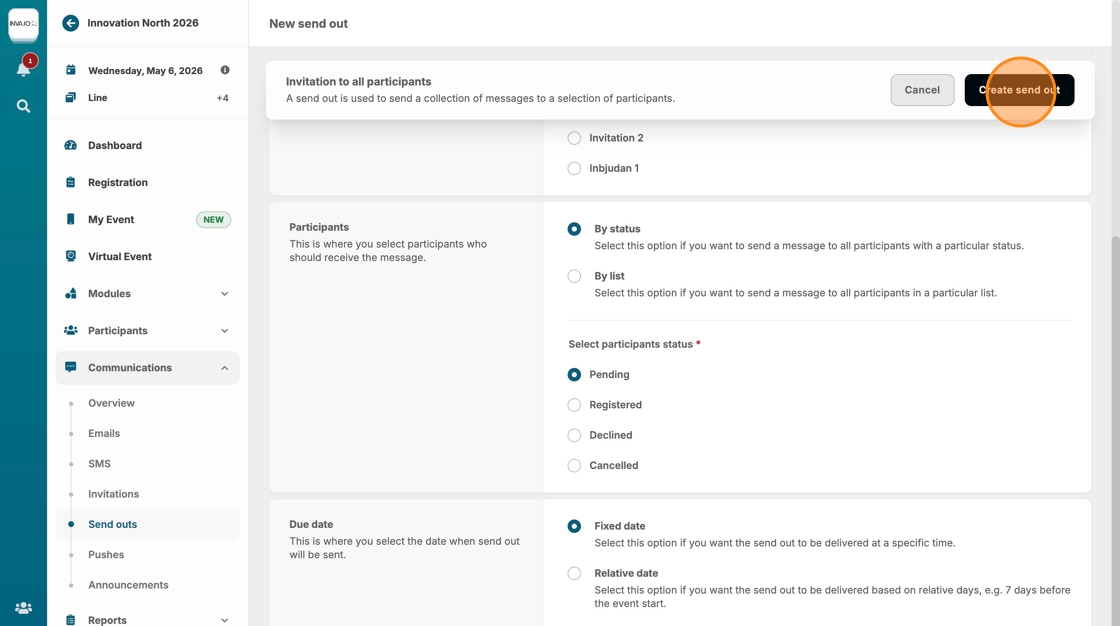
27. Click "Create send out"
28. Click "New send out Title Type Recipients Sent at Scheduled at Invitation to all participants Invitation 1 participant-2025-08-05 14:14Showing 1 r..."
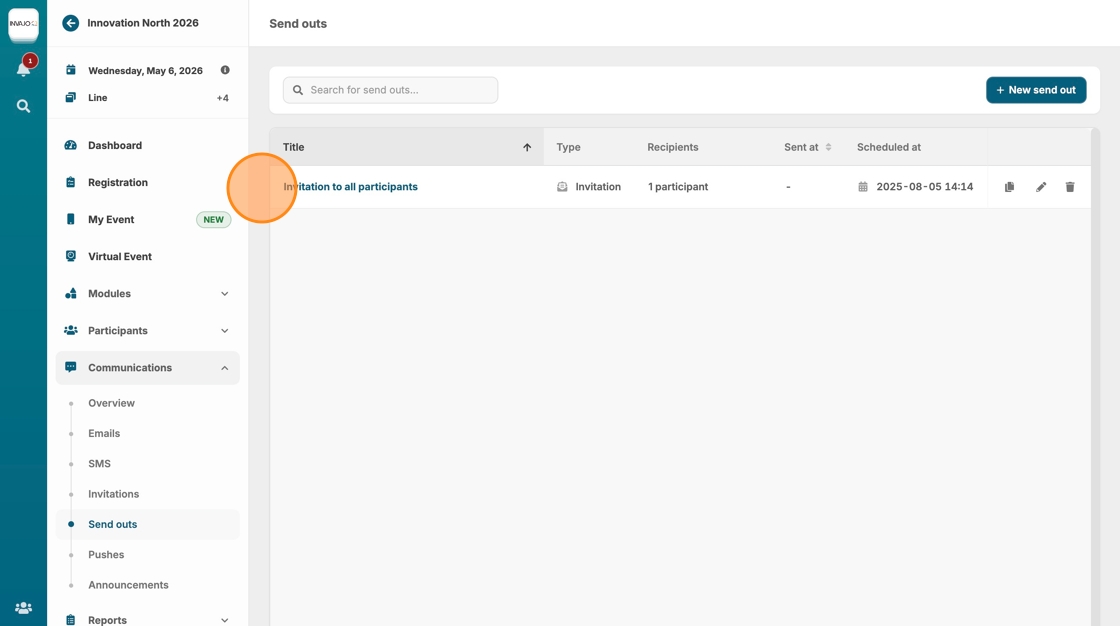
29. The send out will then appear under "Send Outs," displaying the type, number of recipients, and current status.
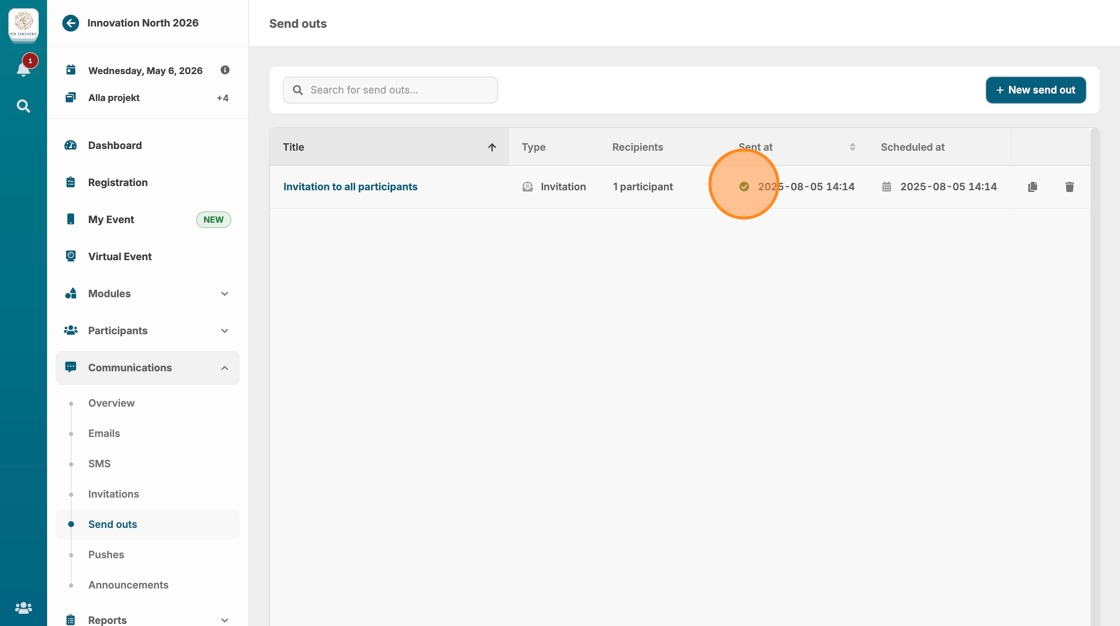
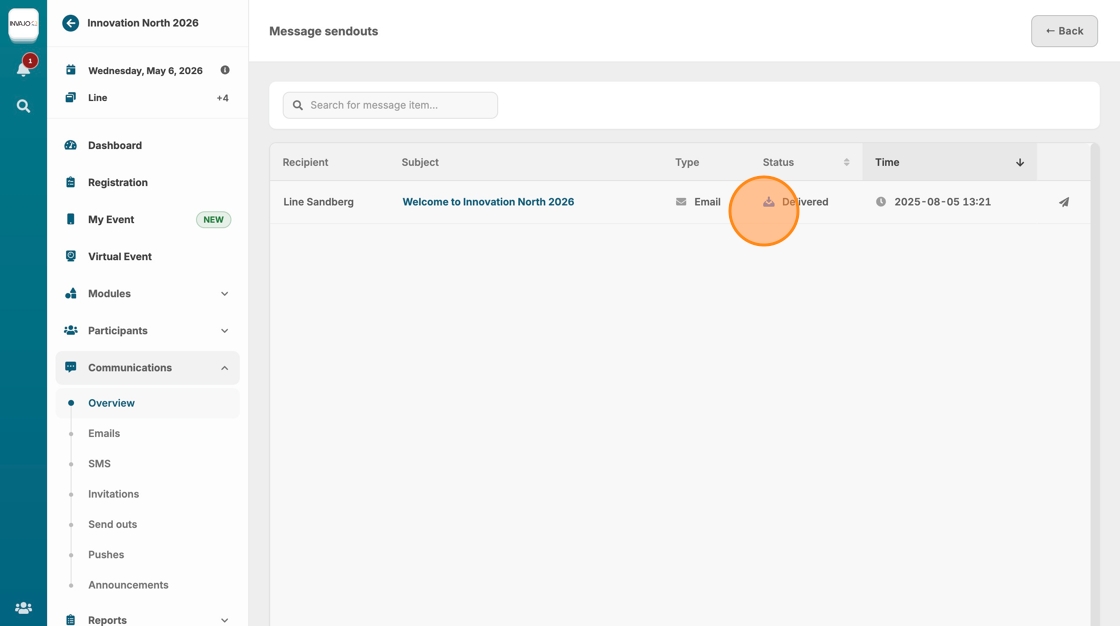
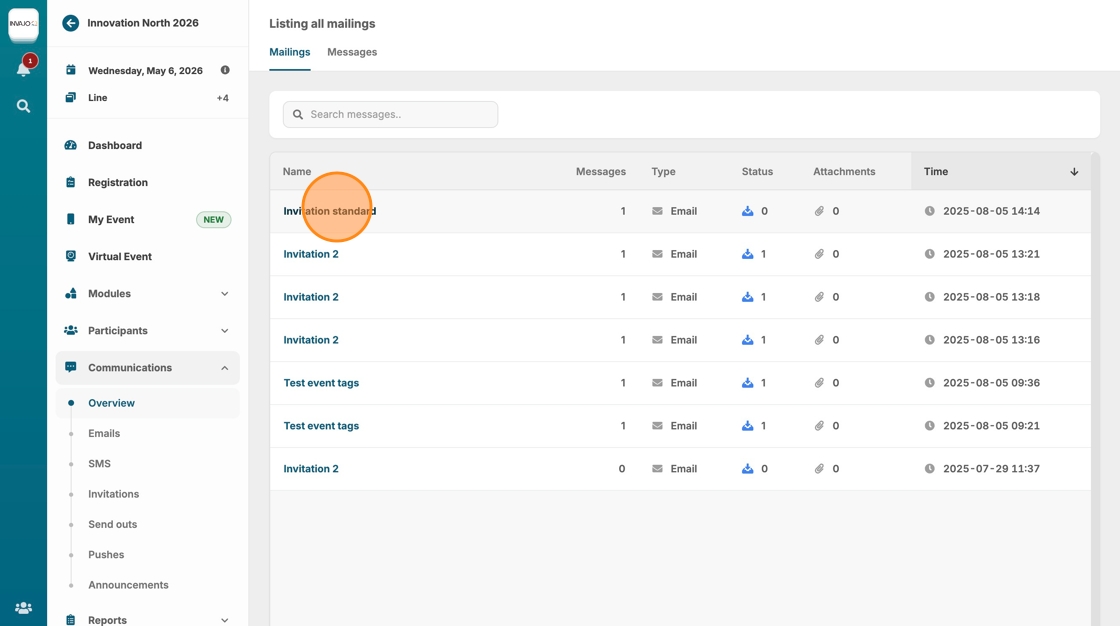
30. To view the delivery status of all send outs, go to the "Overview" section

31. Click on the invitation you just sent, in this case, "Invitation standard"
32. The delivery status and timestamp for each recipient will then be displayed